Soldering is one of the indispensable skills for making your own electronic device. In addition, whenever you make a new device, you may have to practice or consider about the soldering for SMD on PCB. In the time I have been working on soldering while learning how to do it, I could find out some tricks to get it done beautifully. Before it gets started, I would like to explore some important words that I used in the introduction.
According to Wikipedia, SMD (SMT) is…
a method for producing electronic circuits in which the components are mounted or placed directly onto the surface of printed circuit boards (PCBs)
Also, SMD is the abbreviation of a surface-mount device (surface-mount technology)
Once you got the meaning, let’s see the tutorial.
○List of Requirements
Of course, if you are new to do it, you might have to buy some materials from the list.
-
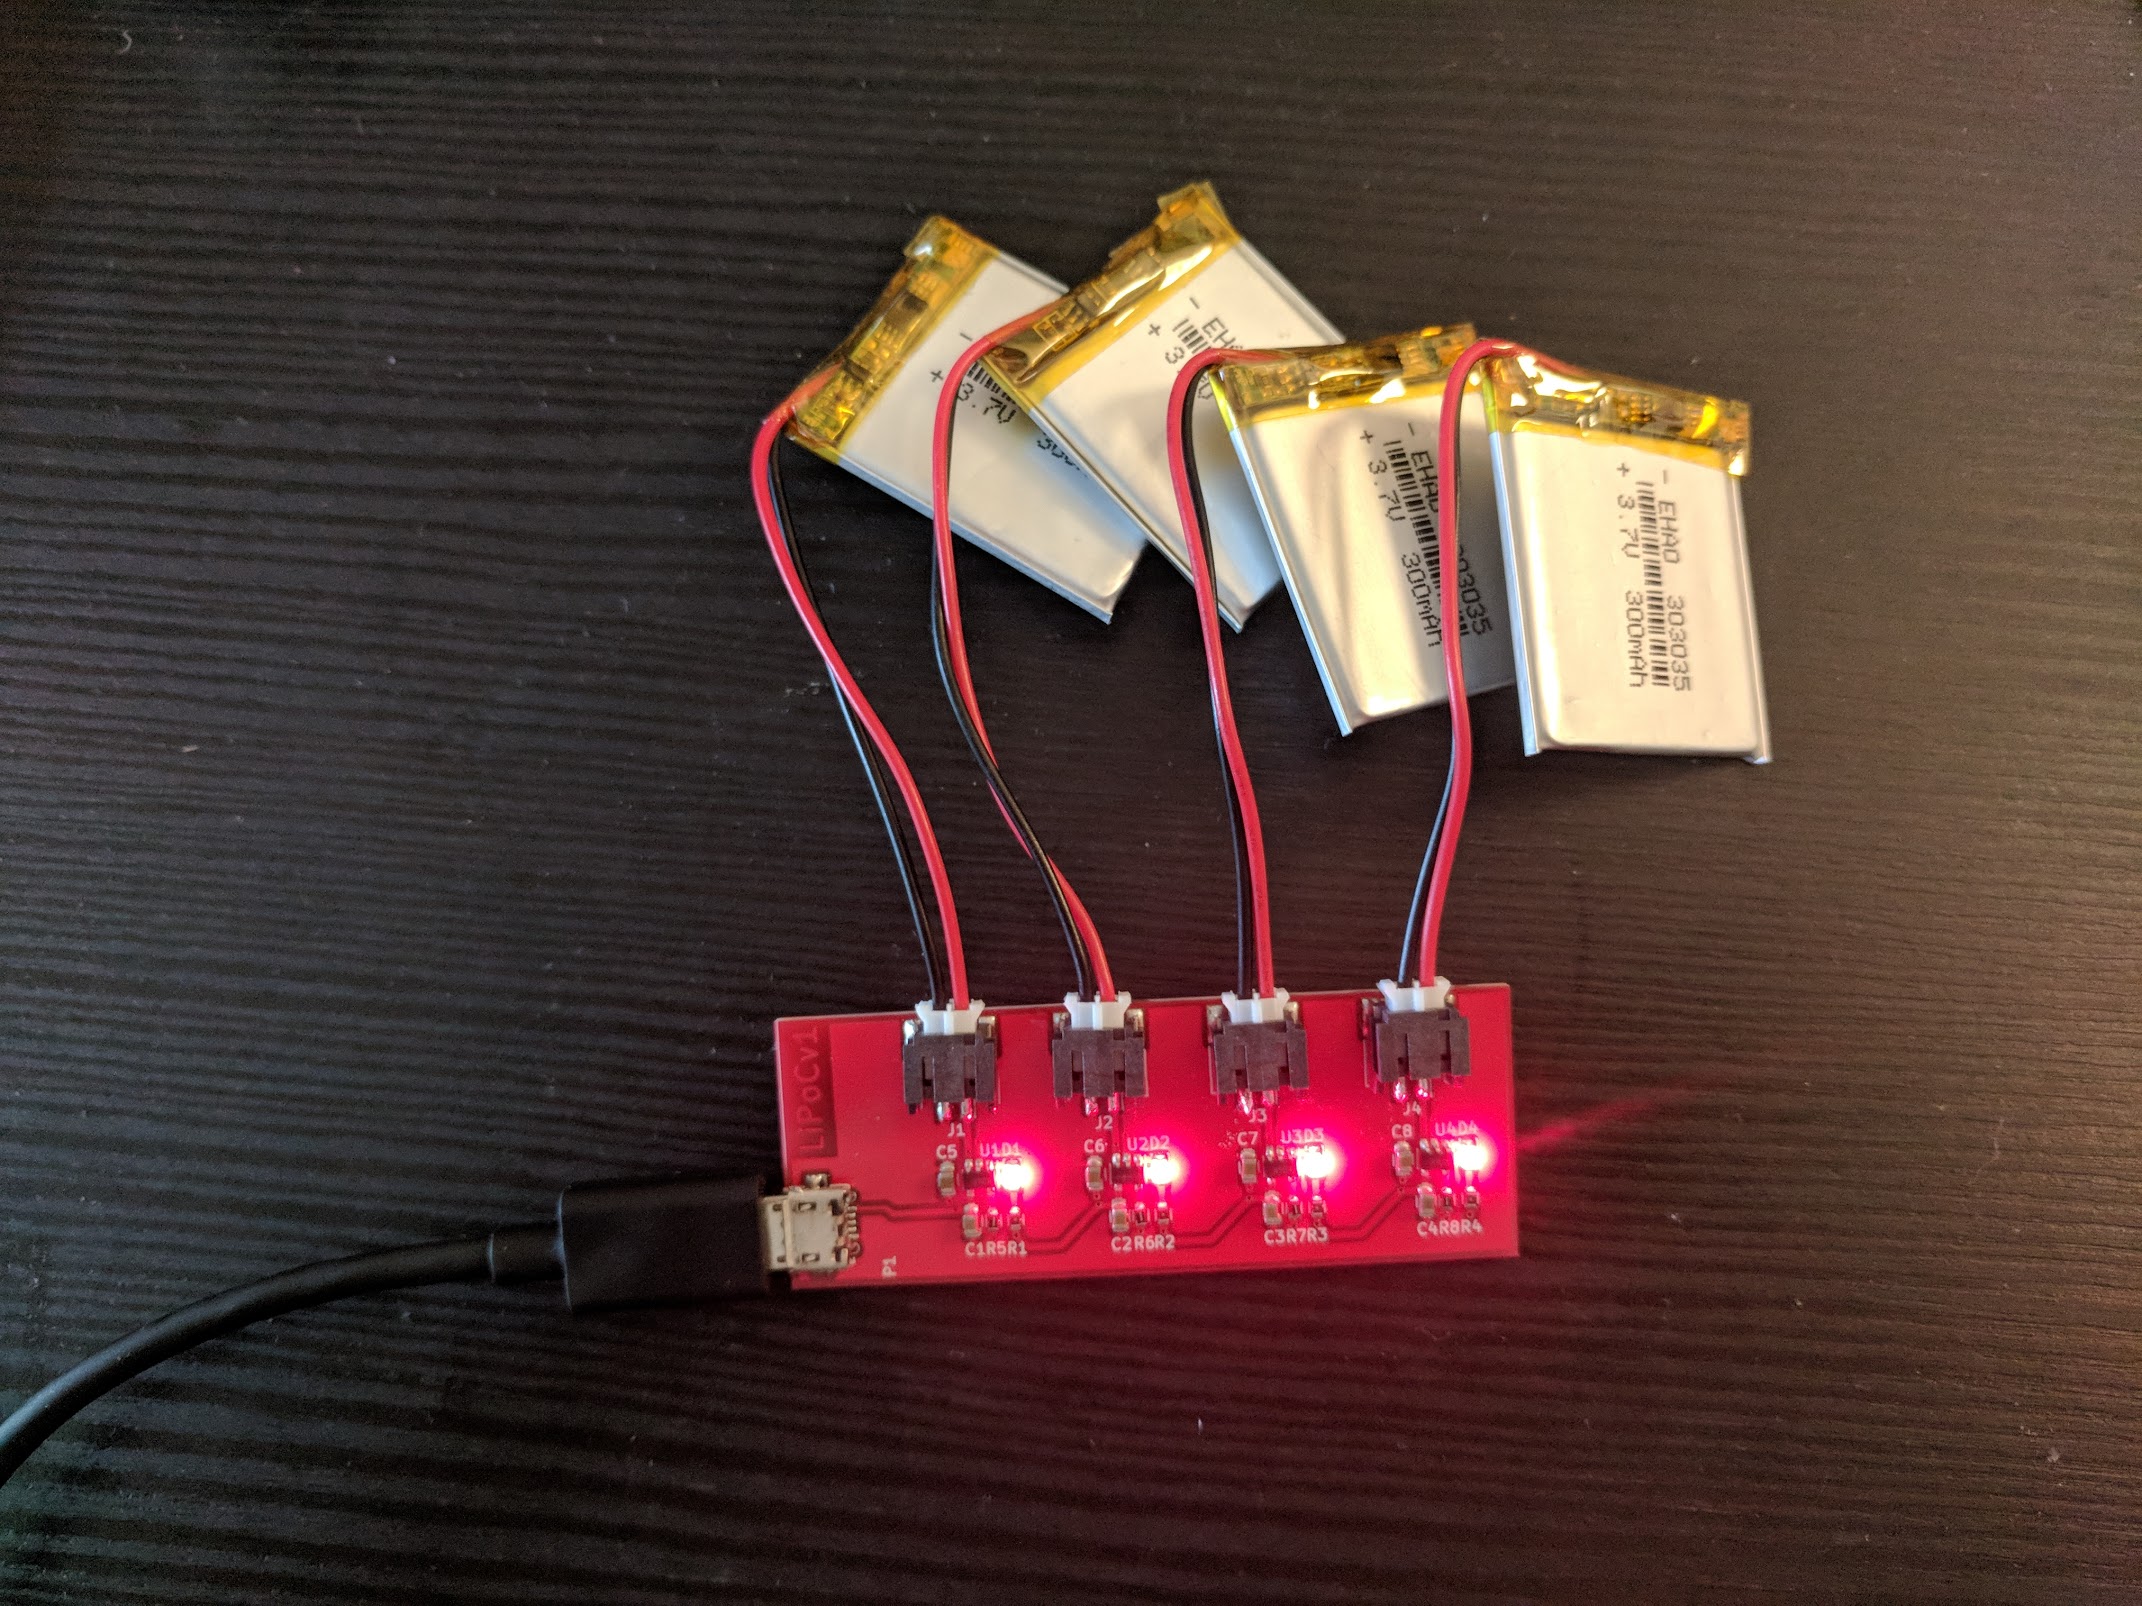
Your own board

This is called PCB (Printed Circuit Board). I ordered my PCB in Elecrow and the cost was $41.95 for 10pcs, including the shipping fees.
2. Hot Air Gun
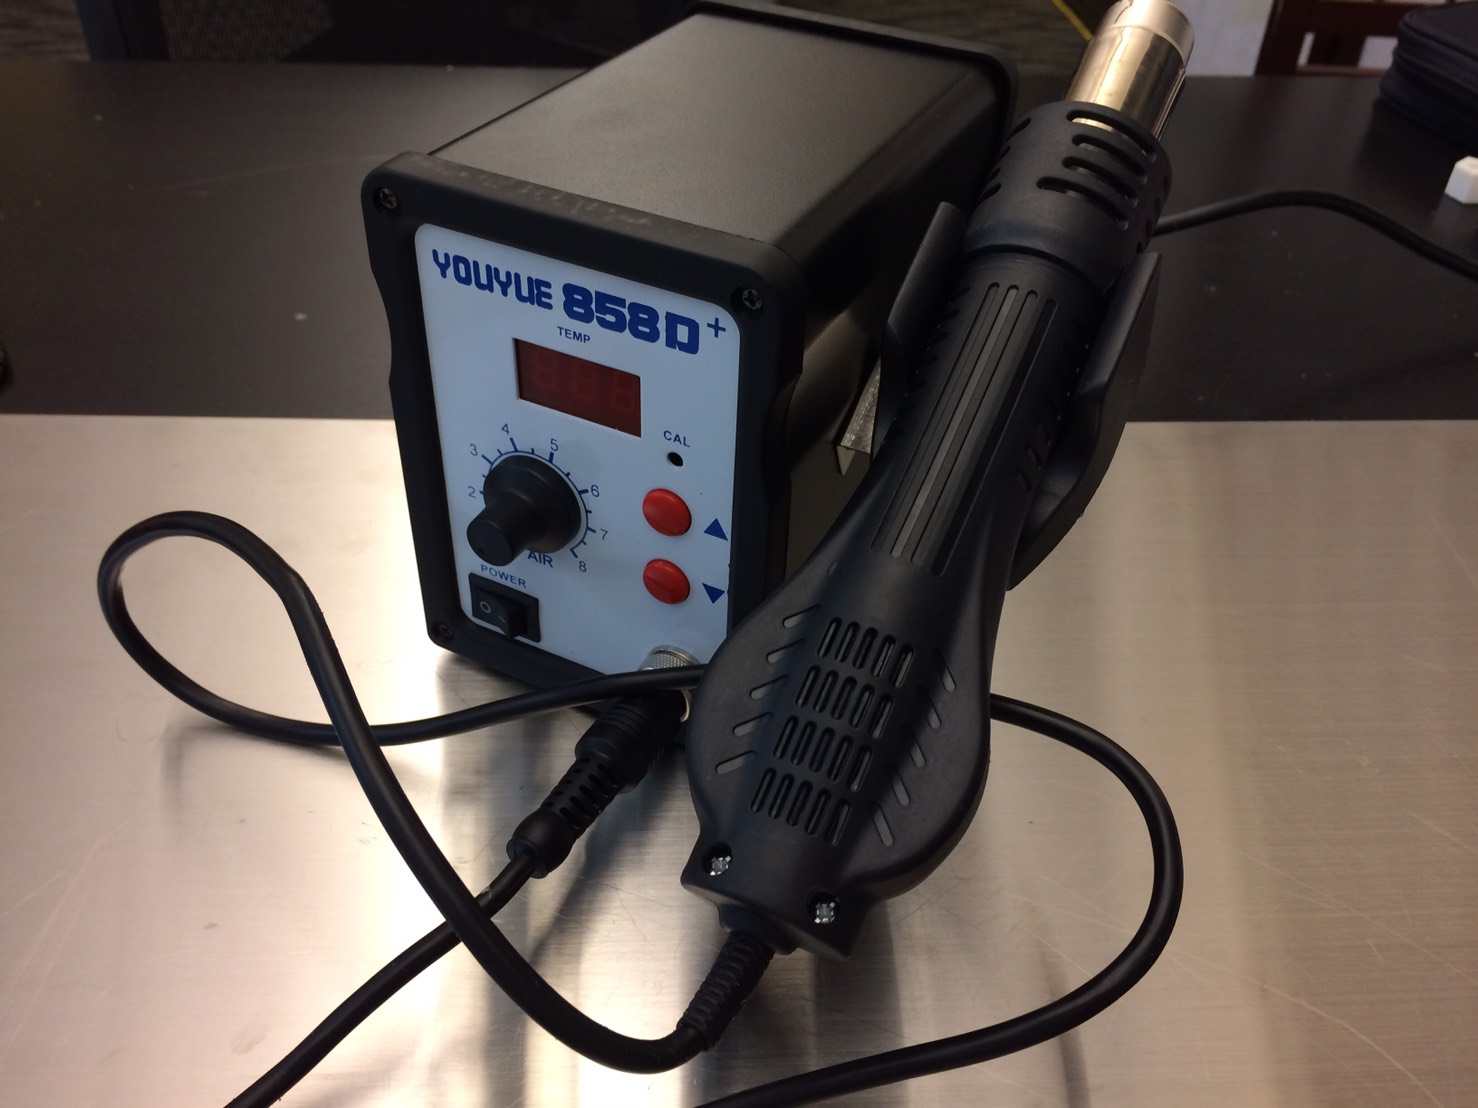
I highly recommend you to use this device rather than using the soldering iron like this picture below.
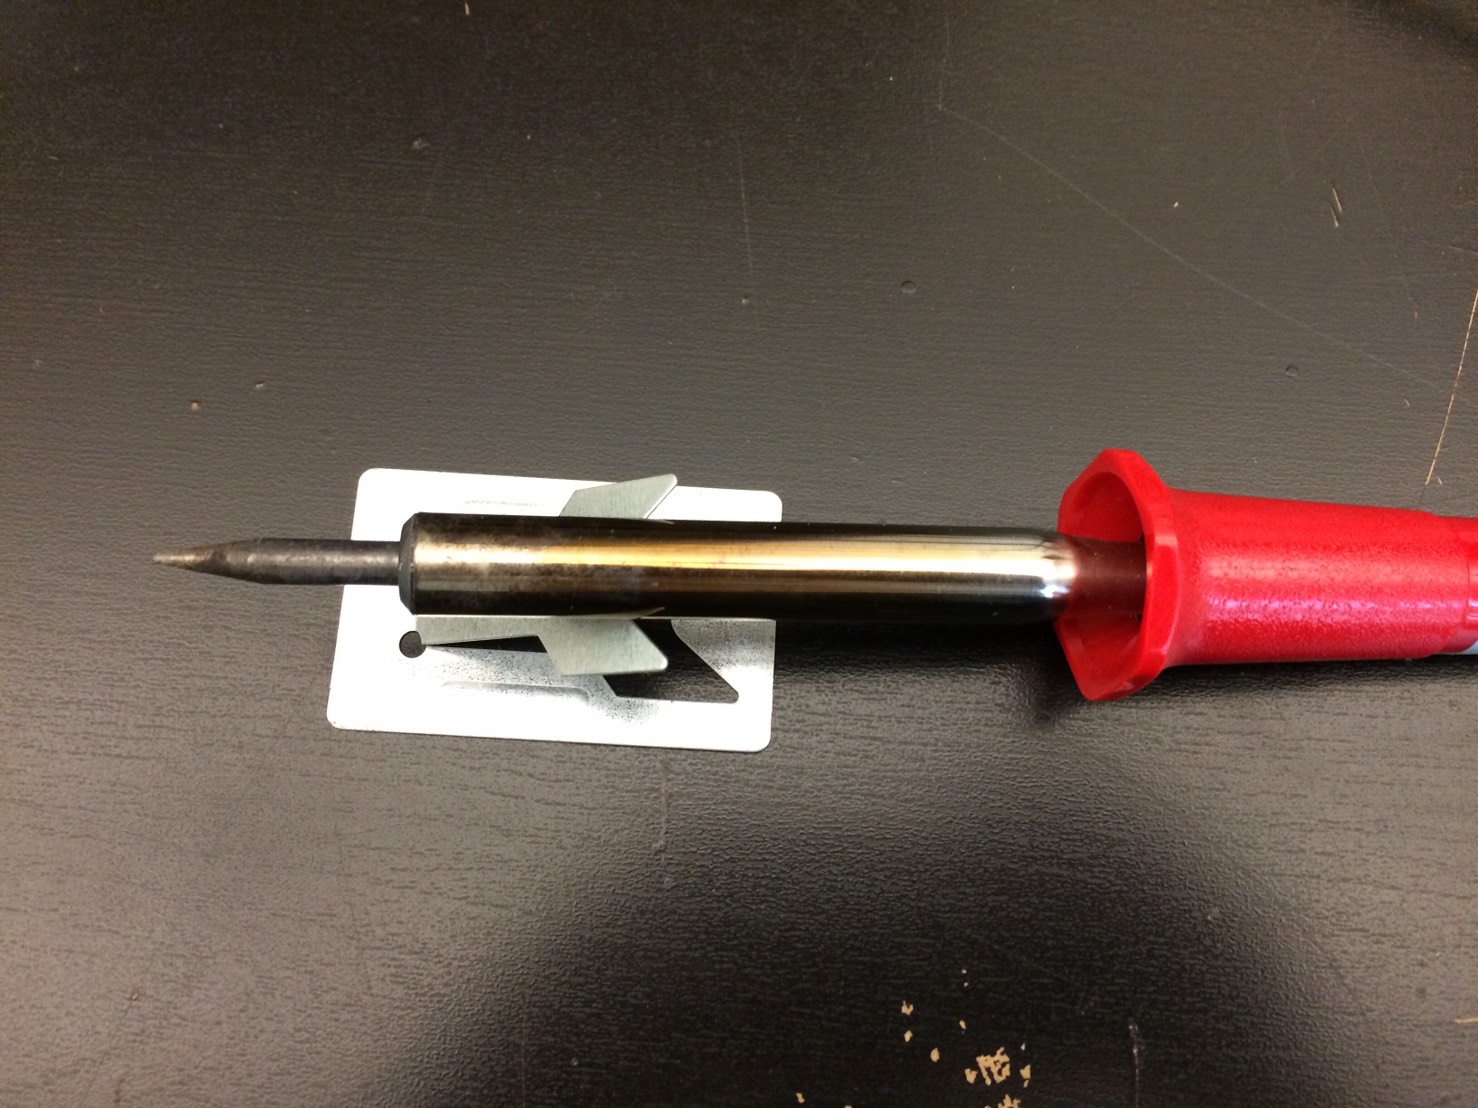
Because this soldering iron is not good at soldering super little components like 0402 resistors.
3. Tweezer

For picking the small components up and drop them off on PCB correctly.
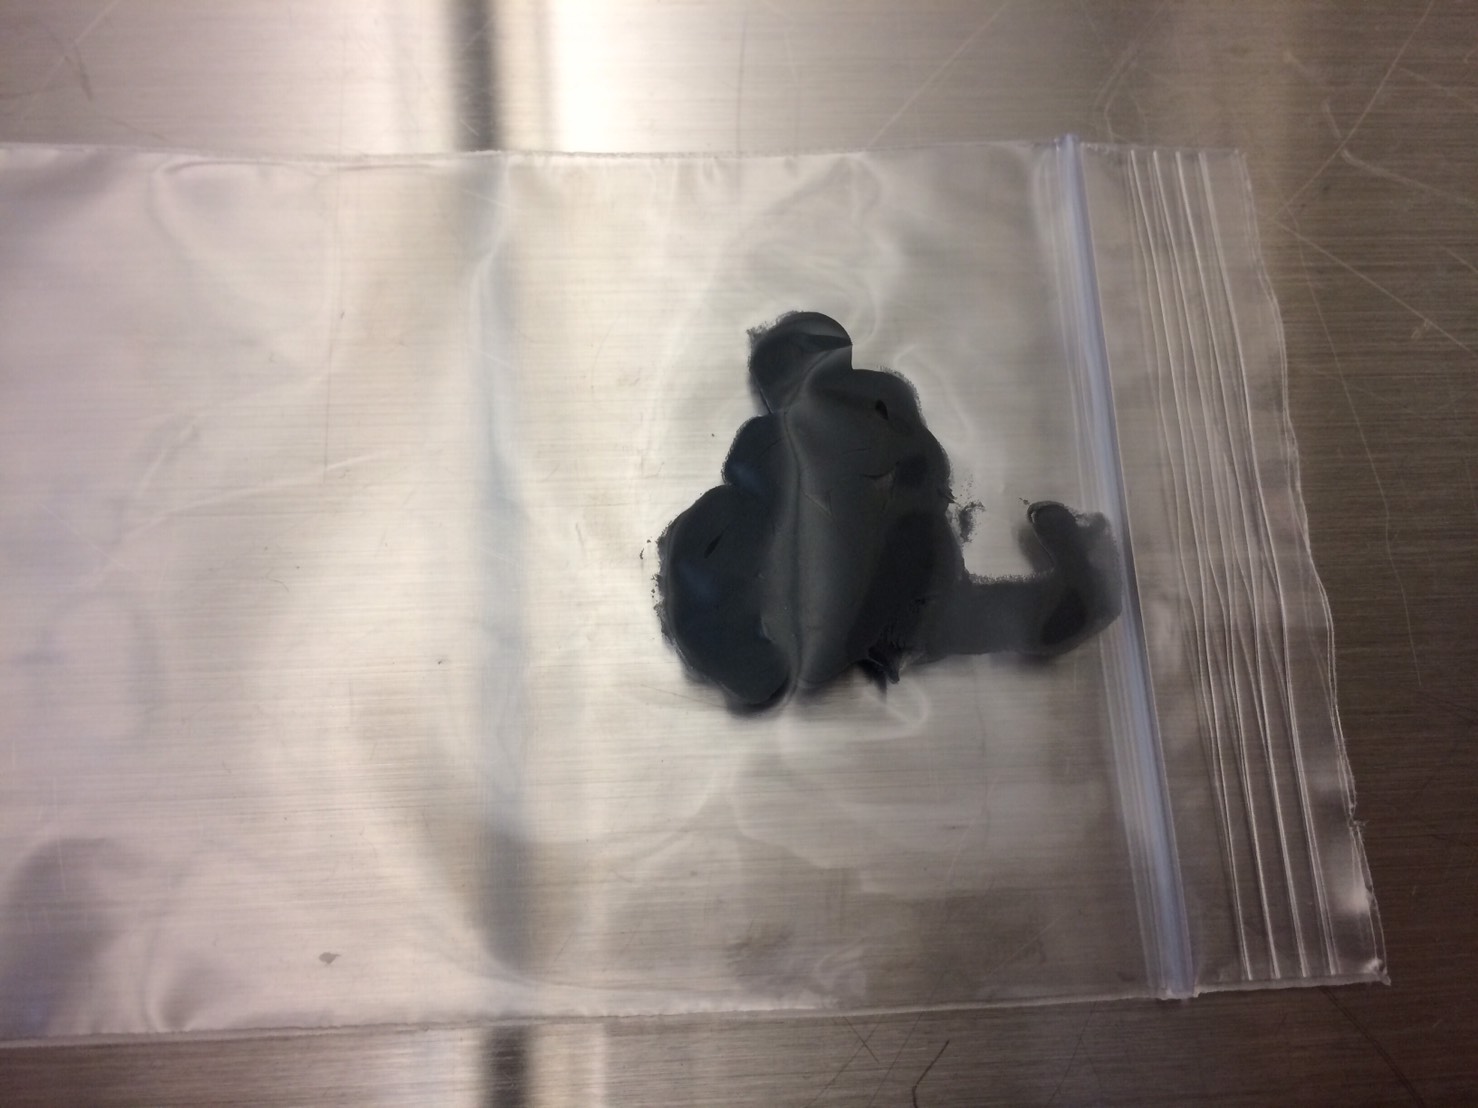
4. Solder Paste and Flux

○Optional requirements.
These materials are not that needed but it would make your project easier if you had them.
-
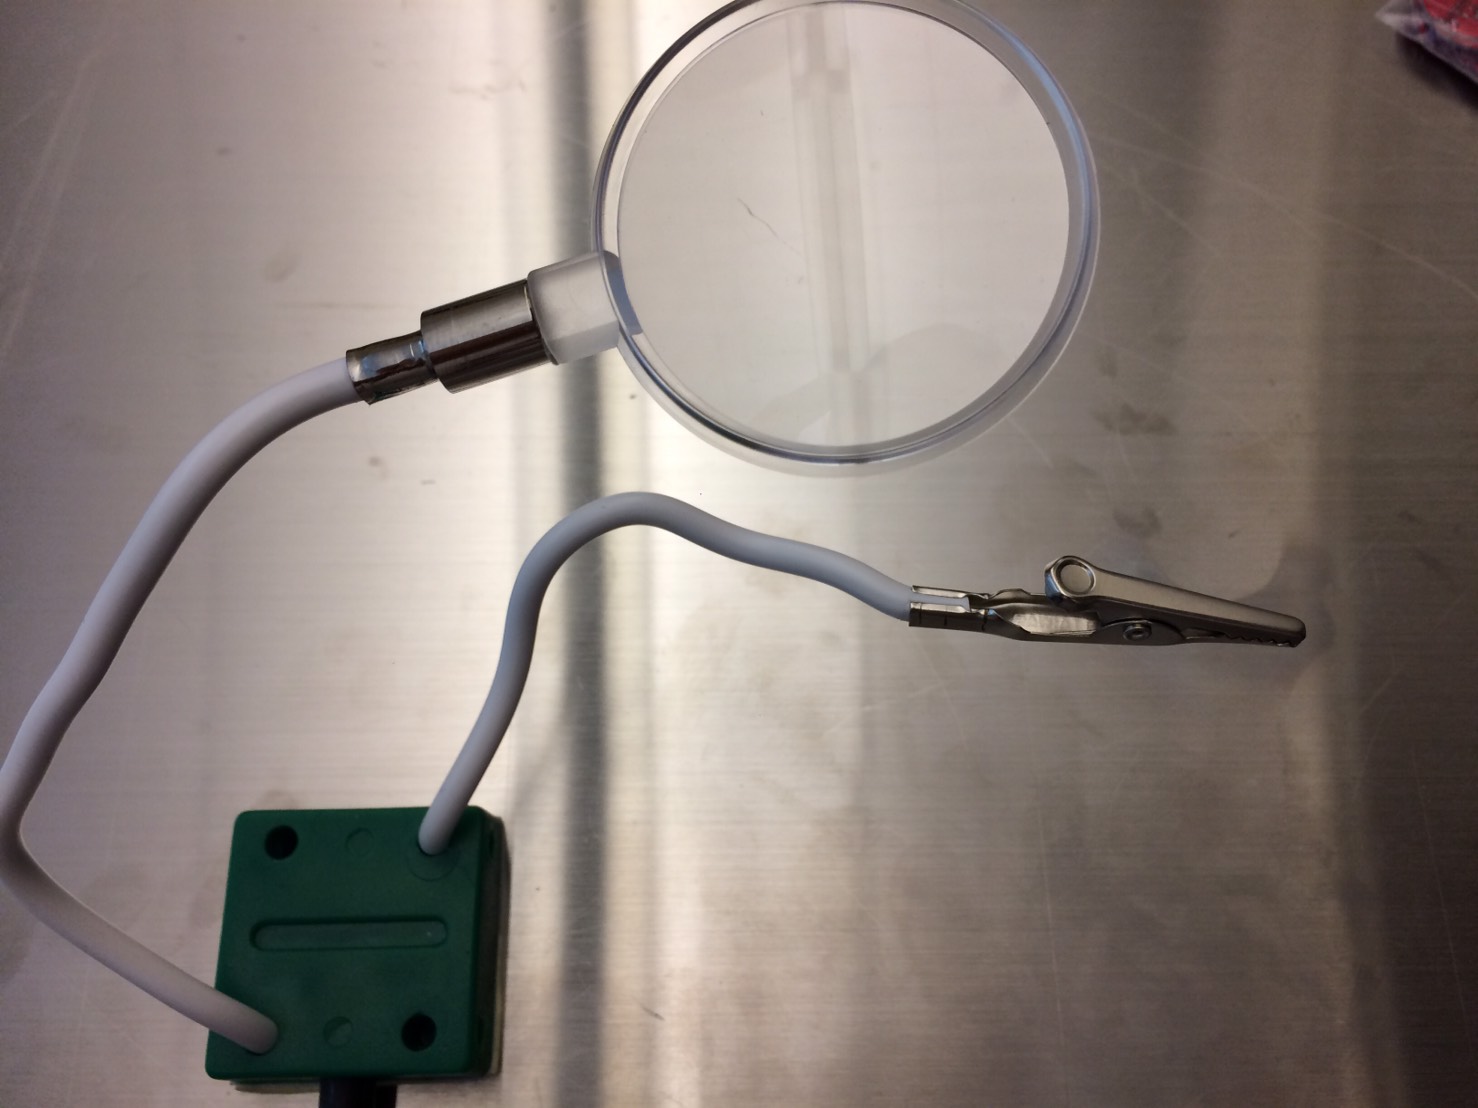
Helping Hand with Magnifying Glass
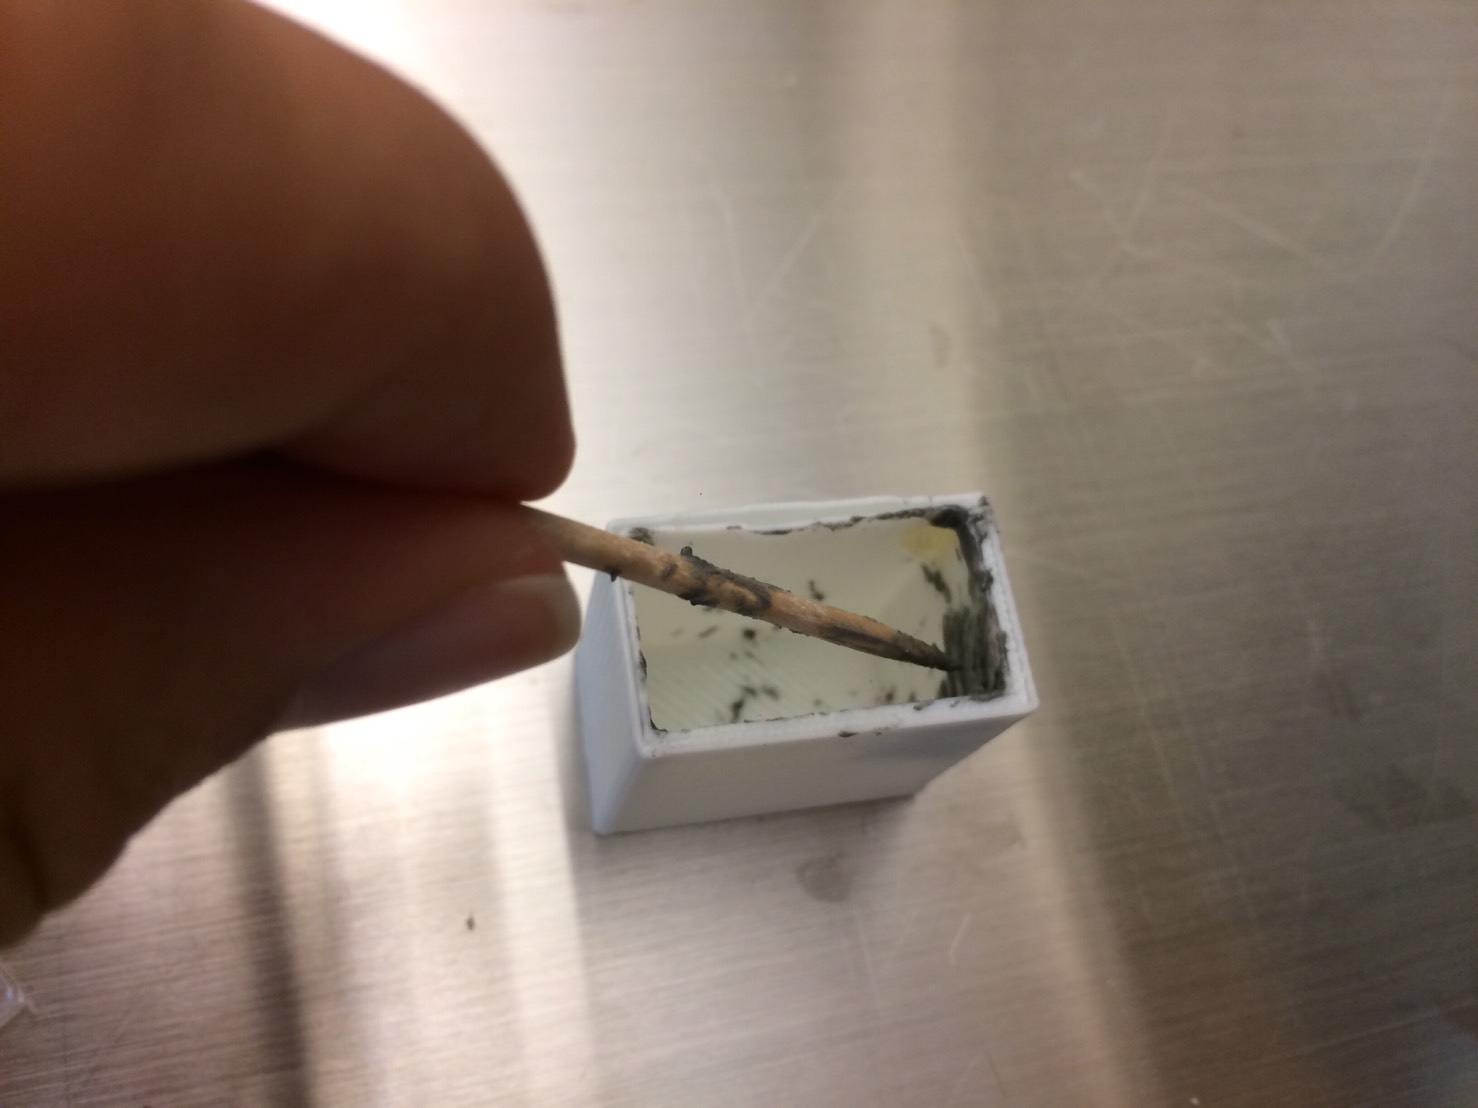
2. A couple of toothpicks

To mix the solder paste and flux up.
○Soldering Time!
When you got these things, you finally could get the soldering started.
First of all, what you are going to do is mix the solder paste and flux together. In some Youtube I watched, they were just using a solder paste. However, my friends, who have more soldering experiences than me, told me that it has to be mixed up because by mixing them up, the paste will be stable on your PCB when you solder. So, I want to follow my friend’s advice rather than the Youtube videos.
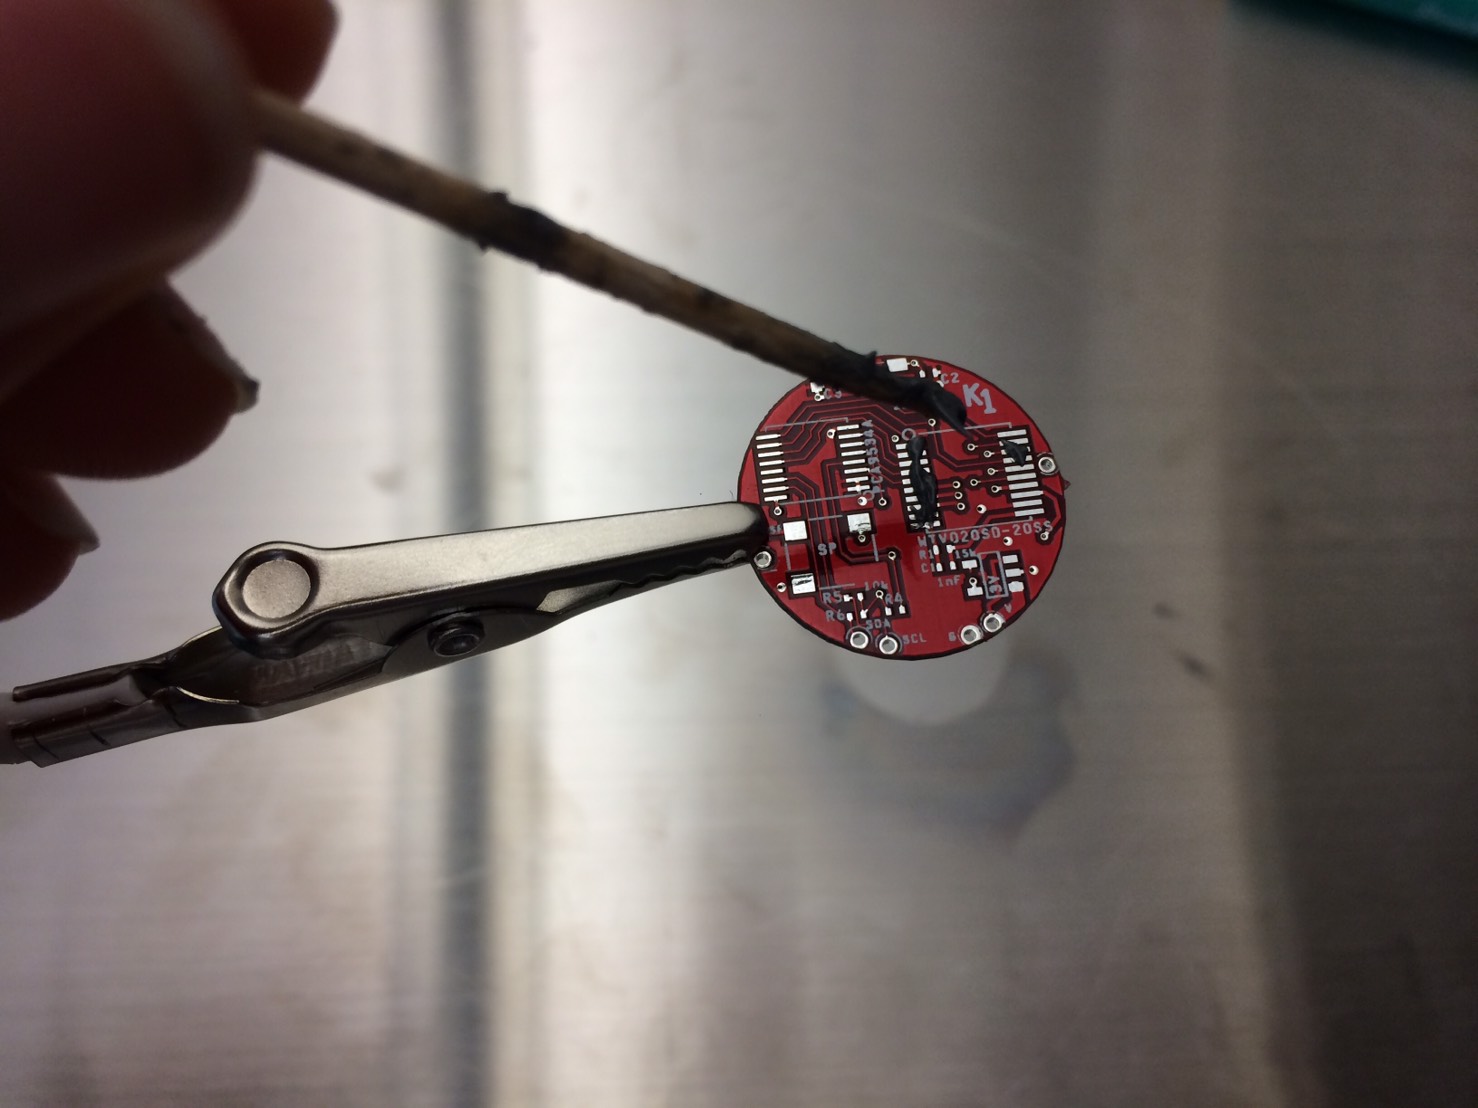
Once you got the mixed solder paste, you set your PCB up by using the helping hand with a magnifying glass.
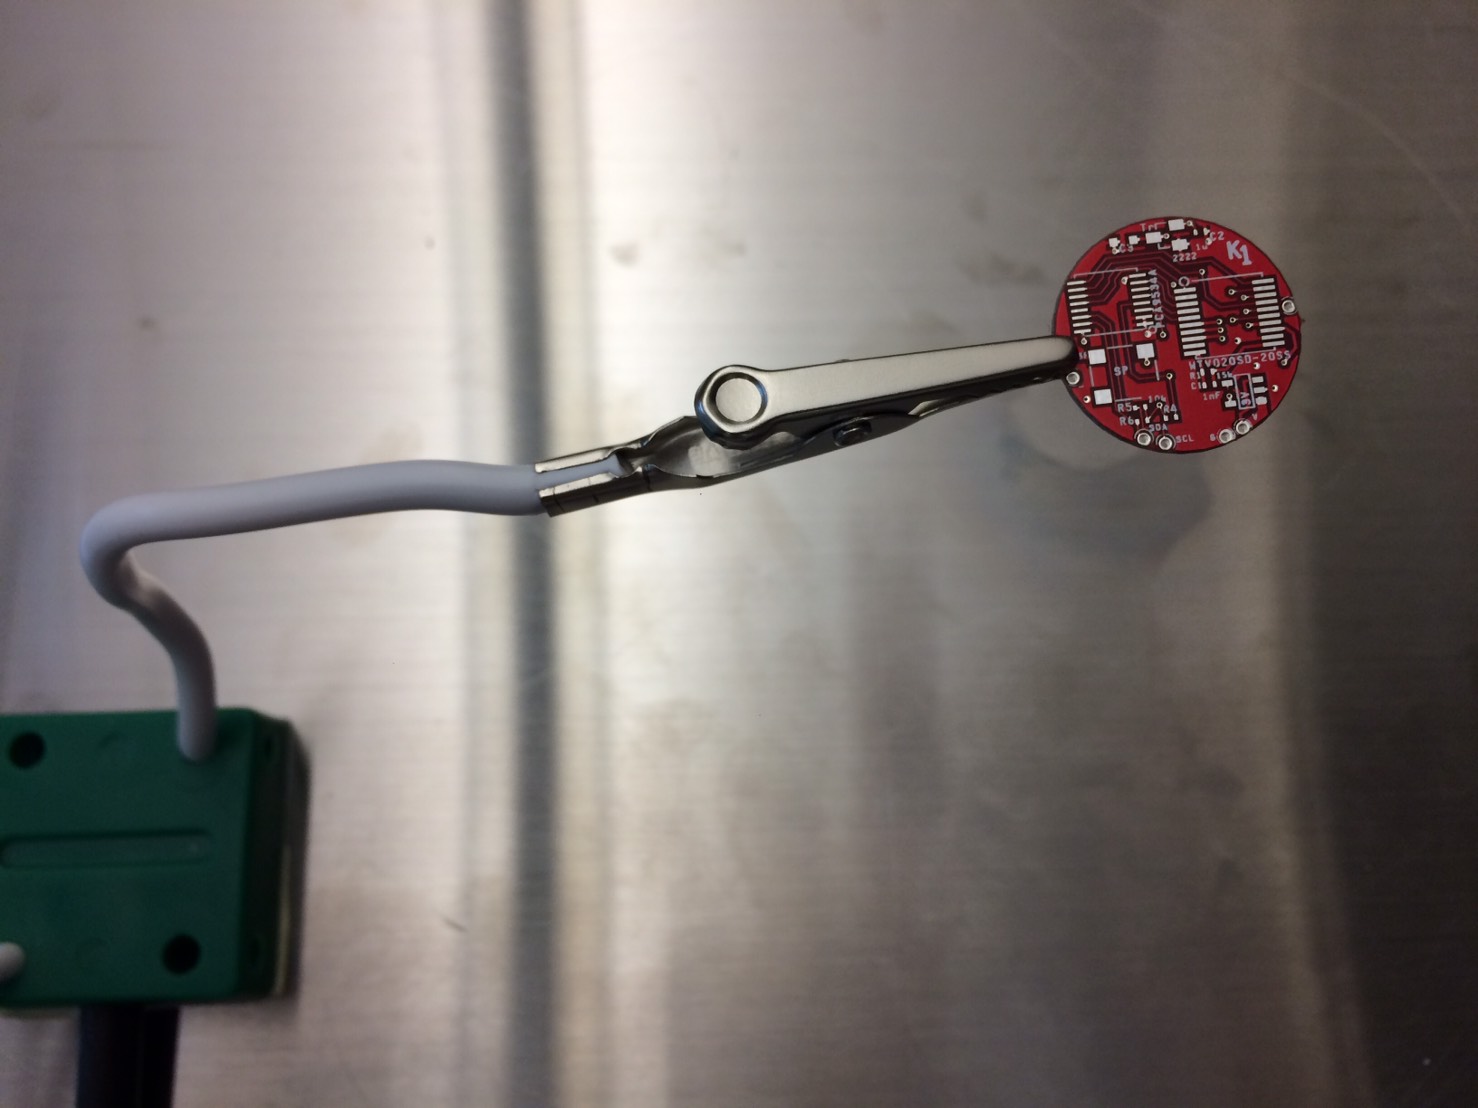
Paste the mixed solder paste evenly on the silver area on PCB. It does not matter even if your paste messed up a little bit because when it is being hot by the hot air gun, the paste, which had messed up, will automatically gather to the each pin bases on the surface tension.
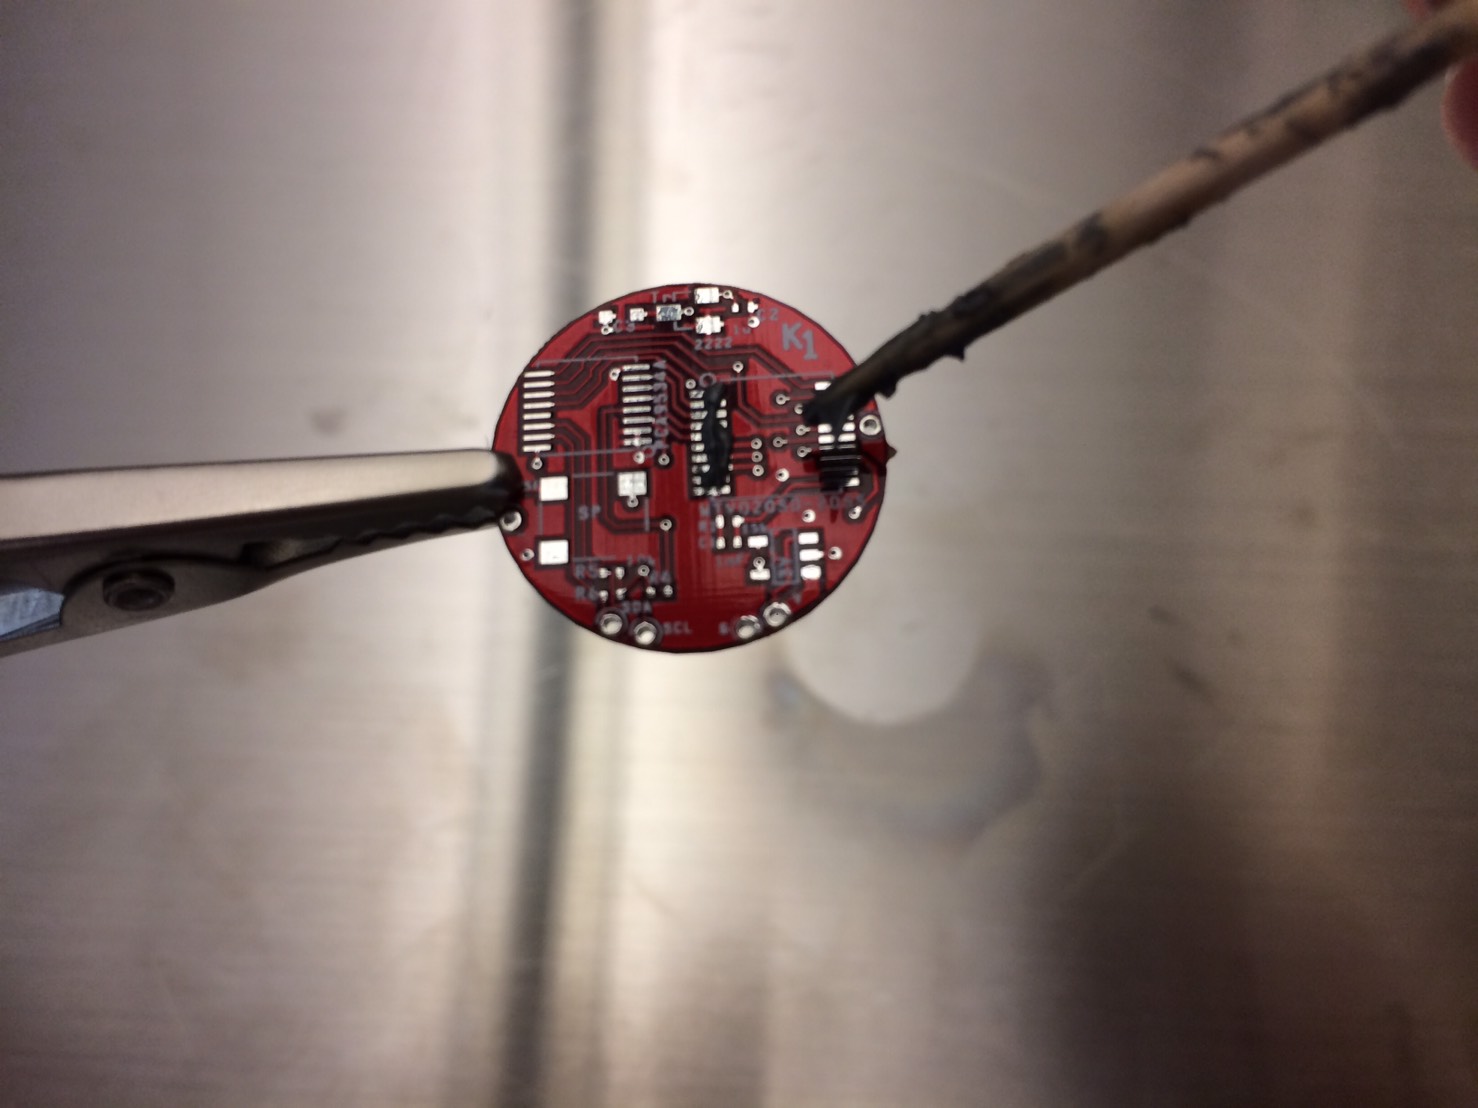
Put a component on the area you pasted them. Be careful of the dimension of your component. Each of components has the exact dimension and pins. You should see the date sheet of them.

Take the hot air gun and set up the appropriate temperature (I am using 300 ℃). The component and PCB can usually be connected in 20 seconds. However, please make sure you should keep making it hot until the paste starts gathering.
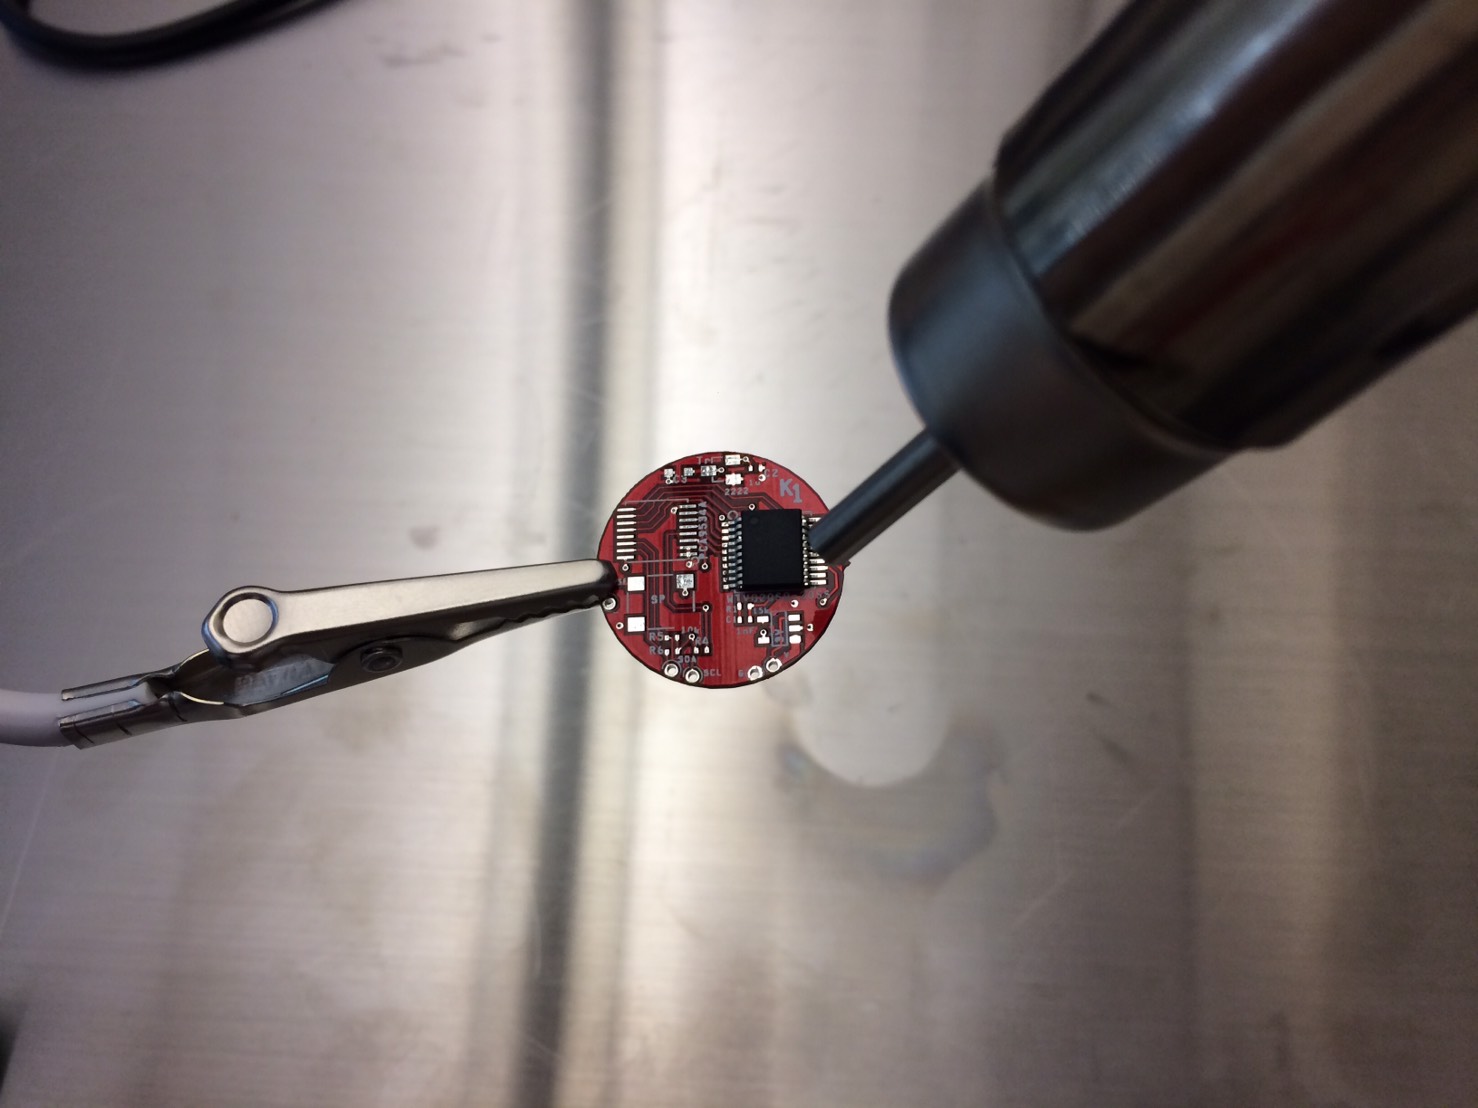
And continue the same things until you finish soldering SMD on PCB.

The last thing you should do is make sure whether it is able to work what you wanted it to work. In order to do that, you are going to code to make it work.
Once you understand how to do soldering SMD on PCB, you can make your own product by yourself. I hope my soldering SMD tutorial can help your project out.