I have been working on my personal project which is about how to make a sound on WTV020SD with Arduino for a couple of days. I could not find any solutions of it on Google. However, I finally found it out with the simplest way EVER! SO I am going to talk about how to use WTV020SD with Arduino on this article.
◯What you need
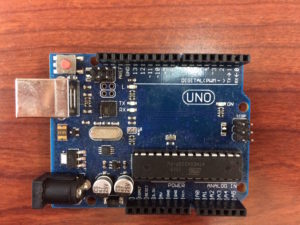
- Arduino Uno
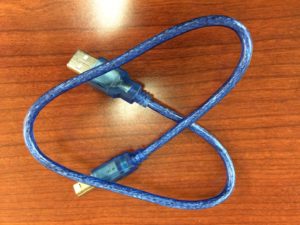
2. A USB cable (Type A to B)
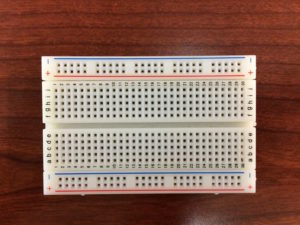
3. A Breadboard
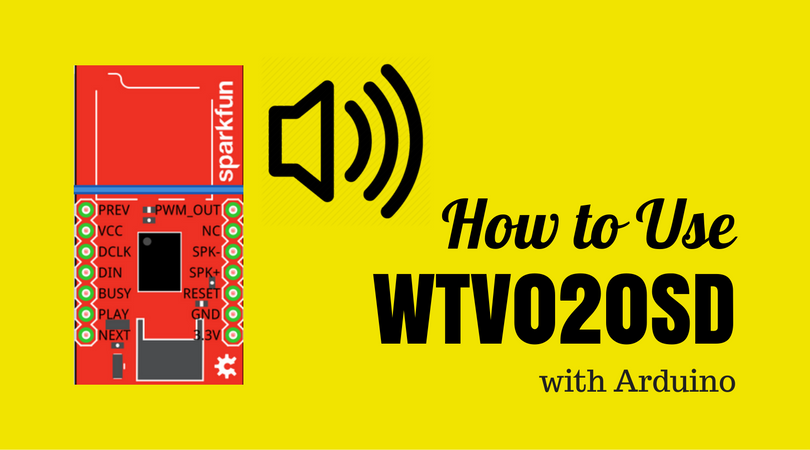
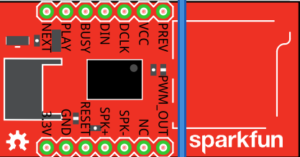
4. Sparkfun Audio-Sound Breakout WTV020SD
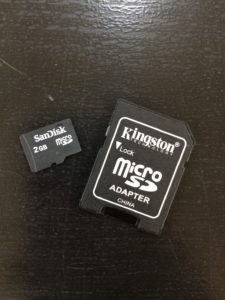
5. Kingston MicroSD Card (2GB)
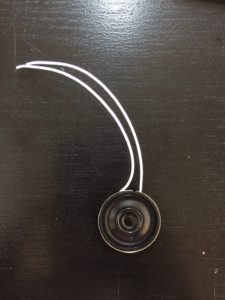
6. Mini Metal Speaker (8orm, 0.5W)
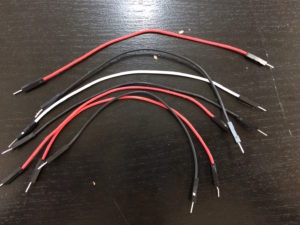
7. 7 Jumper Wires
◯What you set up
- First of all, you have to convert your .wav or .mp3 audio file to .ad4. If you are a Mac user, you should use a Windows computer to convert it. Here is the link about how to convert (http://www.buildcircuit.com/how-to-convert-mp3-and-wav-files-to-ad4-format-wtv020sd-tutorial/) I am not going to talk about the details about it in this tutorial.
- You should change the name of the audio file to ad4 format such as 0000.ad4 because the file will be read from 0000.ad4.
- Connect from the 5V PIN on your Arduino to the VCC on your WTV020SD by using a jumper wire.
- Connect from the GND PIN on your Arduino to the GND PIN on WTV020SD by using a jumper wire.
- Connect from 6 PIN on your Arduino to PLAY PIN on WTV020SD by using a jumper wire.
- Connect from 5 PIN on your Arduino to BUSY PIN on WTV020SD by using a jumper wire.
- Connect from 4 PIN on your Arduino to DIN PIN on WTV020SD by using a jumper wire.
- Connect from 3 PIN on your Arduino to DCLK PIN on WTV020SD by using a jumper wire.
- Connect from 2 PIN on your Arduino to RESET PIN on WTV020SD by using a jumper wire.
- Connect the between SPK+ and SPK- PIN and Mini Metal Speaker.
◯The Code
In this tutorial, I am just showing about how to make a sound you want by using PLAY. I am not showing about changing a sound or making a sound back or anything like that.
|
1 2 3 4 5 6 7 8 9 10 11 12 13 14 15 16 17 18 |
int PLAY = 6; int BUSY = 5; int DIN = 4; int DCLK = 3; int RESET = 2; void setup(){ Serial.begin(9600); pinMode(6, OUTPUT); } void loop(){ digitalWrite(6, HIGH); delay(1000); digitalWrite(6, LOW); delay(1000); Serial.println("Success"); } |


Could you show me some examples (Code) how to use NEXT or PREV etc.. plz..
We don’t have any buttons but arduino.
Your Code was successfully worked with Play and Stop.
I’m starter, I can’t find information about this module.. TT