The more things I studied about TPA2016, the further curiosity I had got such as what is going to happen what if I connect bone conduction speaker instead of a speaker. In addition, while reading the data sheet of TPA2016D2, I had been stuck on some words which were Automatic Gain Control (AGC) and Dynamic Range Compression (DRC) because I have never heard of these words before. However, these words DRC and AGC seem to be really important to know to do the further experiment like the aim of this tutorial which is the experiment of bone conduction speaker using I2C.
About AGC and DRC
Automatic Gain Control is able to make an output signal constant despite its input signal. For example, when multiple people use a microphone at the same time, the sound input levels are different because some of them might be farther than other people, but some of them might be using the microphone closer. In this case, AGC automatically adjusts the input level and makes the output level constant. The point is, the weaker input signal is, the stronger output signal is, and the stronger input signal is, the weaker output signal is. In addition, the gain on the TPA2016D2 can be selected -28dB to +30dB. Of course, -28dB outputs a silent sound and +30dB can output a louder sound.
Dynamic Range Compression is able to prevent a clipping noise when the sound volume is extremely high by compressing the dynamic range of audio signal and speaker. In addition, DRC can automatically adjust the audio signal level for the sound range that you want.
Once you understood these words, let’s get started with bone conduction speaker using I2C experiment.
Requirements
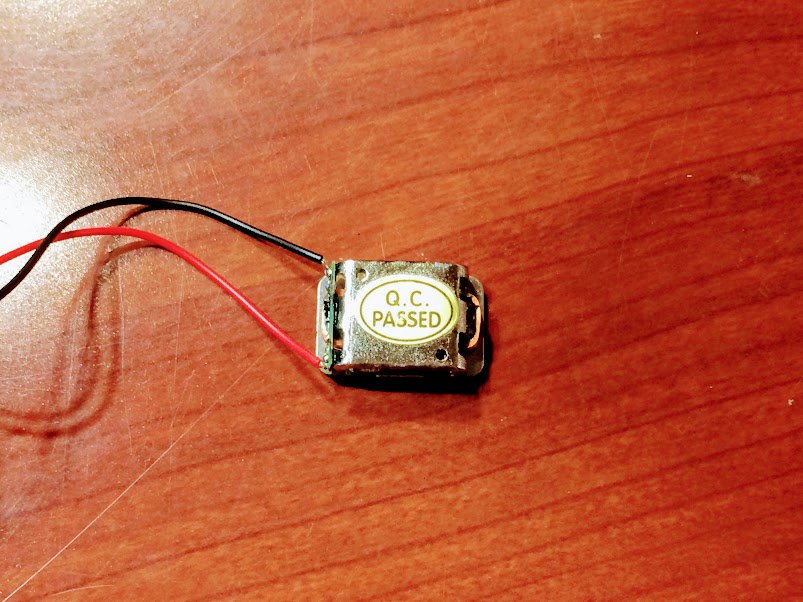
・Bone Conduction Transducer
・TPA2016

・3.5mm Headphone Jack

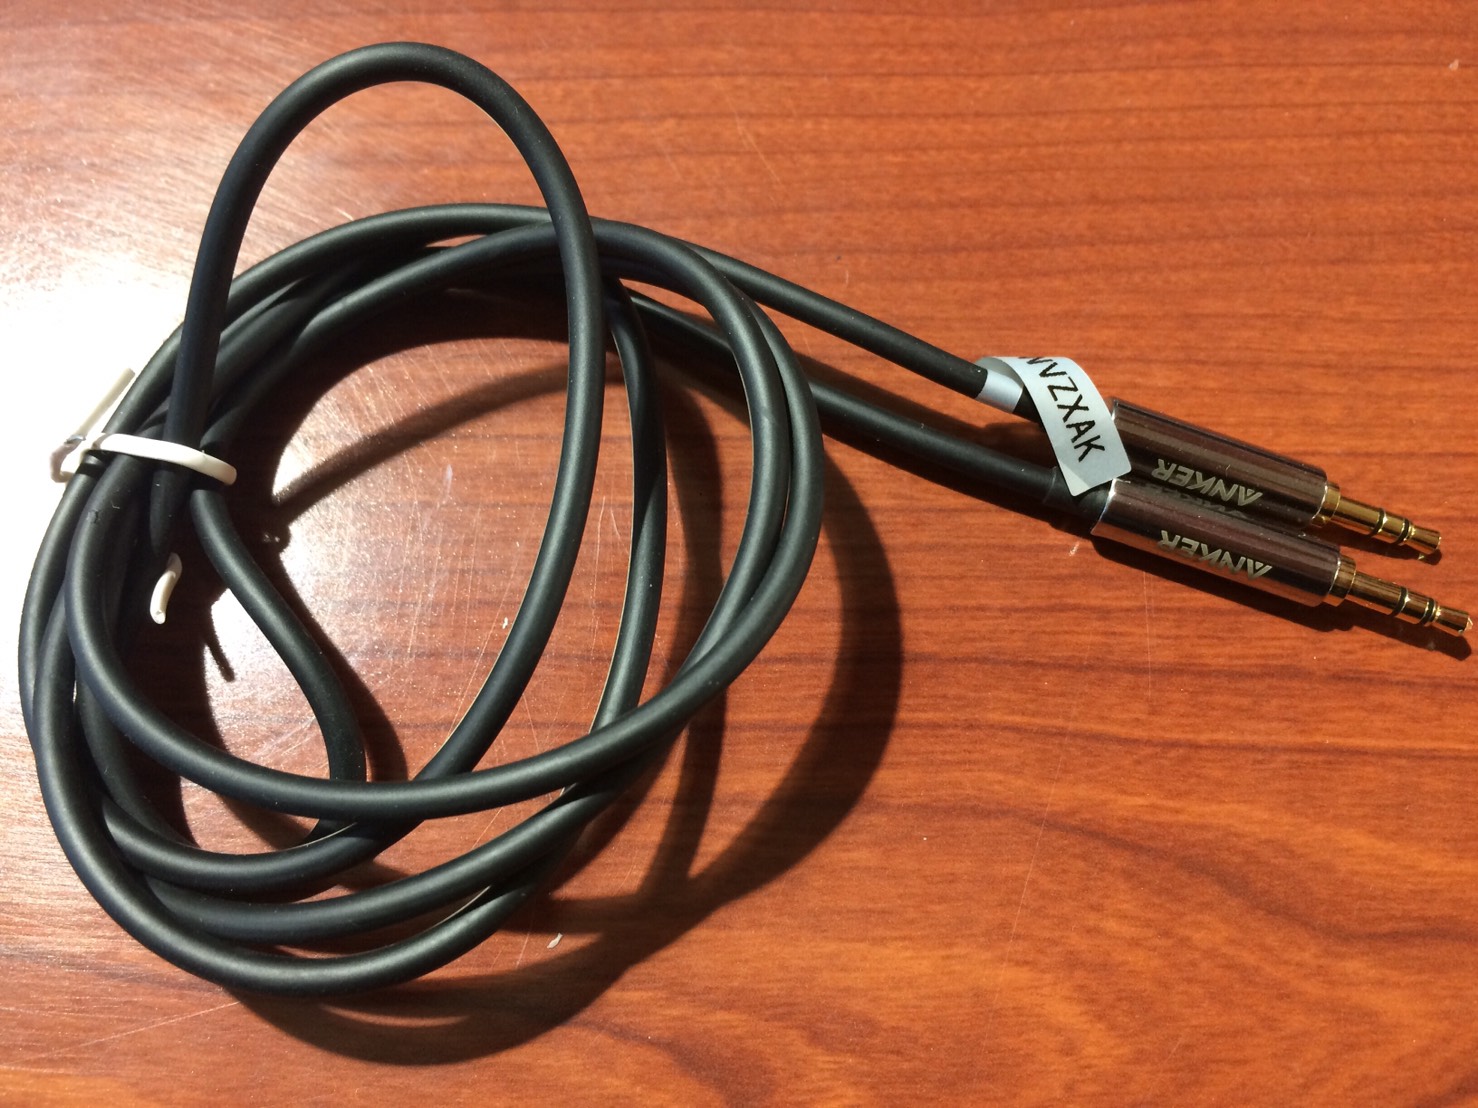
・3.5mm Audio Cable
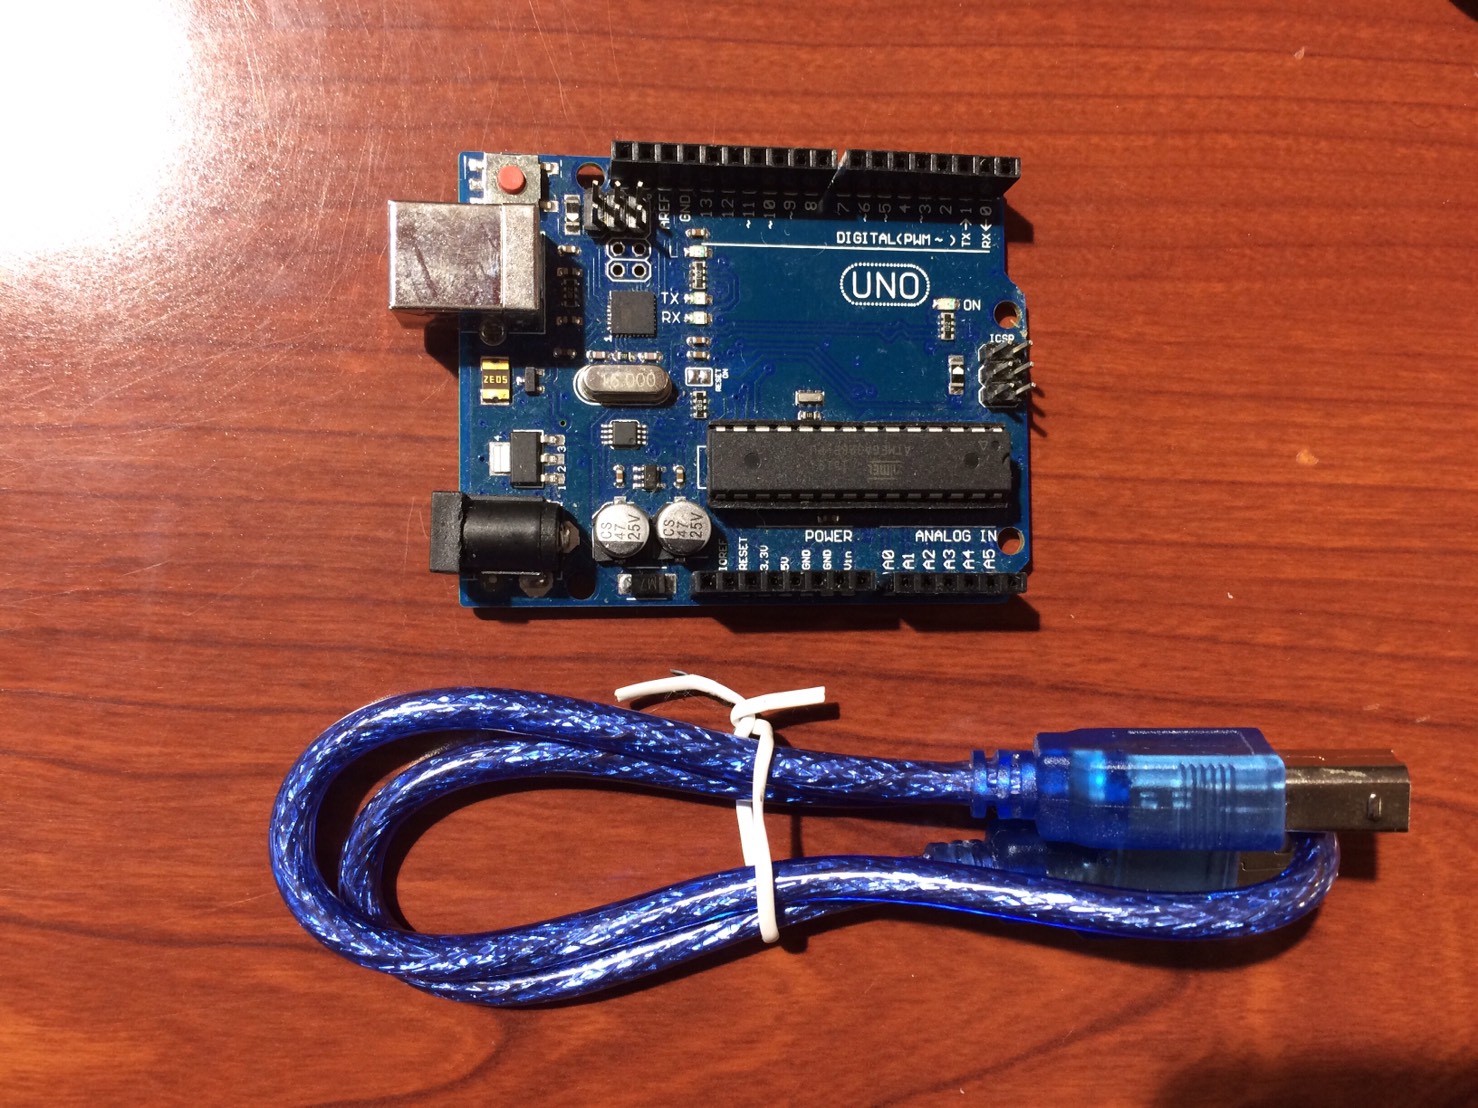
・Arduino Uno
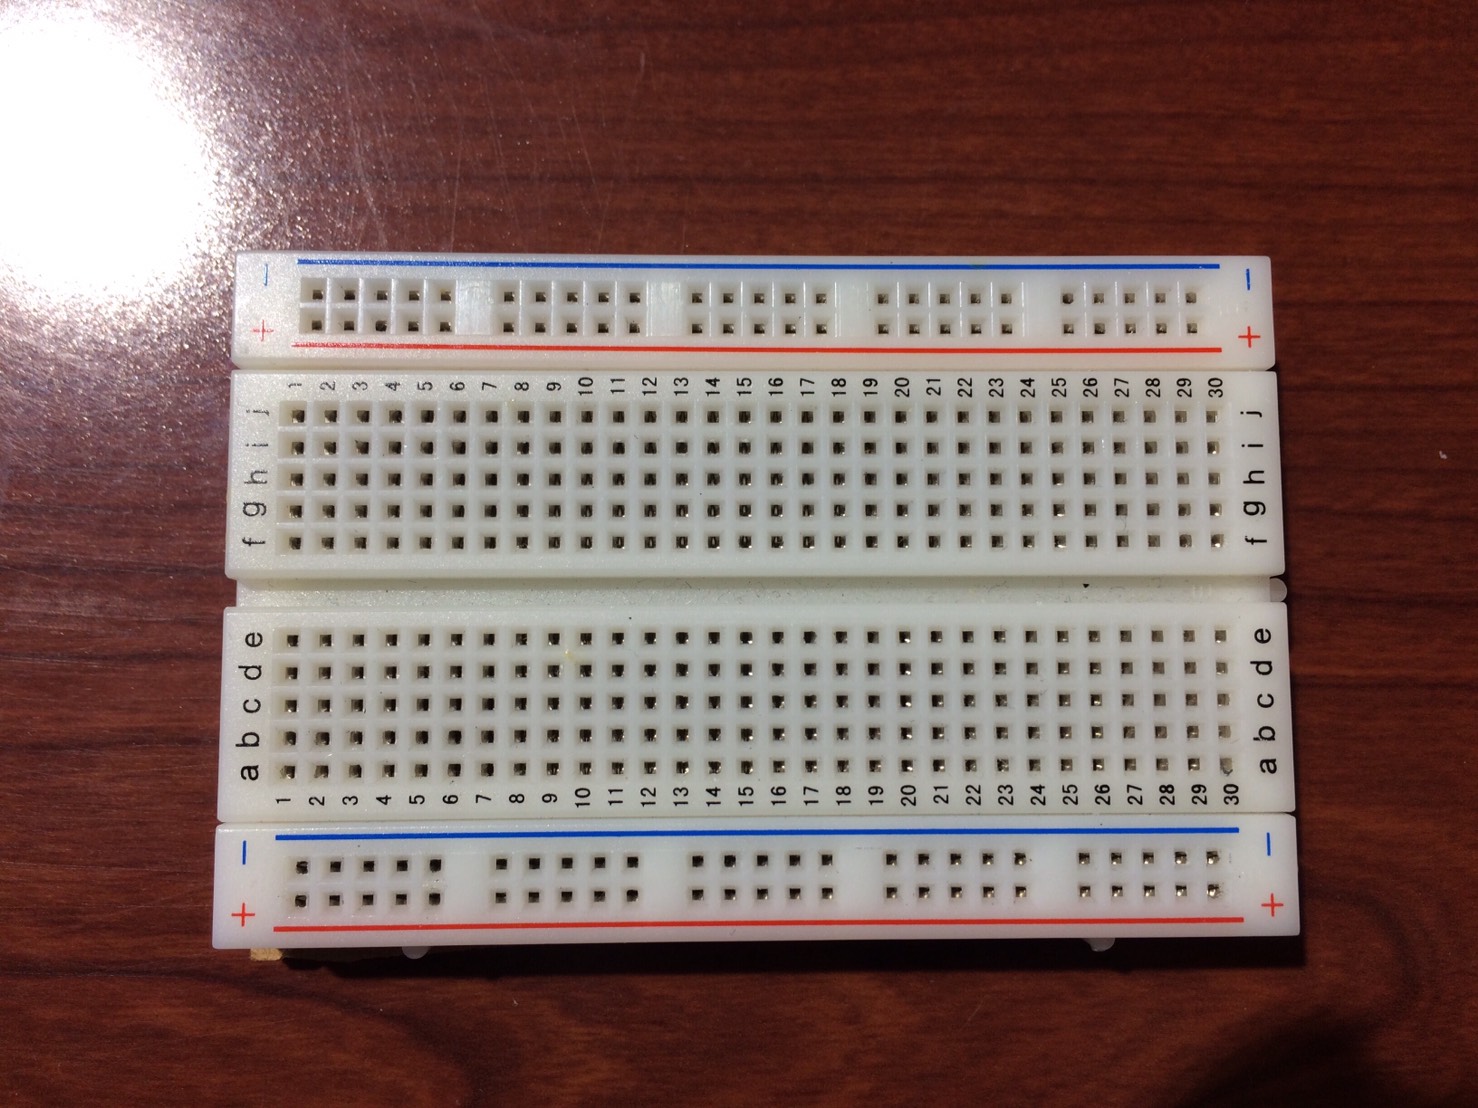
・A breadboard
・Some Jumper Wires
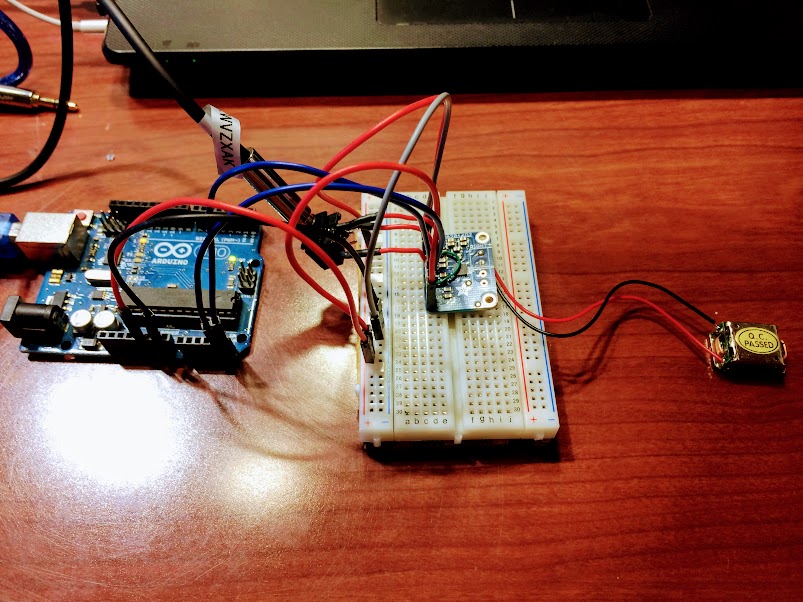
Circuit Diagram
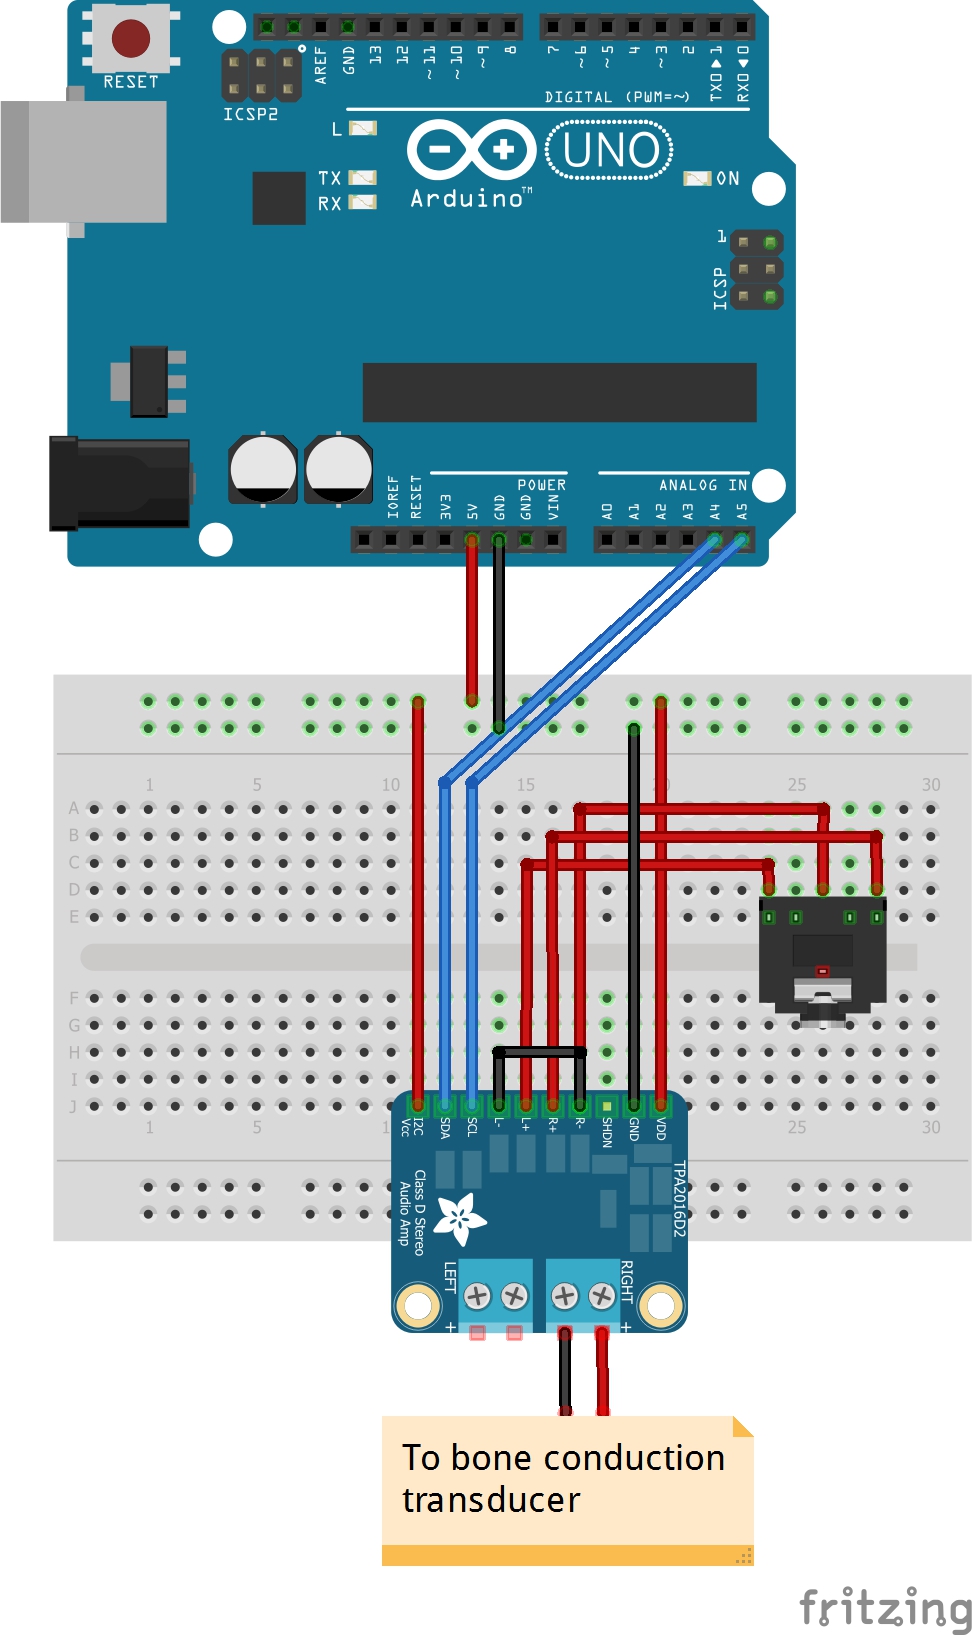
Assembly the components by following this circuit diagram. Remember that the goal of this experiment is to use I2C. I2C pins on the Arduino are A4 pin (SDA) and A5 pin (SCL), so connect each pin to the pins on TPA2016.
Programming
Before you look up the code below, you should download two libraries which are wire library and TPA2016 library. (Go to Arduino IDE -> Sketch -> Include library -> Manage Libraries -> Search these libraries and download them). After restarting Arduino IDE, go to File -> Example -> then you see “Adafruit TPA2016 Library and click on it. You will get the exactly same code below.
|
1 2 3 4 5 6 7 8 9 10 11 12 13 14 15 16 17 18 19 20 21 22 23 24 25 26 27 28 29 30 31 32 33 34 35 36 37 38 39 40 41 42 43 44 45 46 47 48 49 50 51 52 |
#include <Wire.h> #include "Adafruit_TPA2016.h" Adafruit_TPA2016 audioamp = Adafruit_TPA2016(); void setup() { Serial.begin(9600); Serial.println("TPA2016 Audio Test"); audioamp.begin(); audioamp.setAGCCompression(TPA2016_AGC_OFF); audioamp.setReleaseControl(0); // update the gain, from -28dB up to 30dB for (int8_t i=-28; i<=30; i++) { Serial.print("Gain = "); Serial.println(i); audioamp.setGain(i); delay(500); } Serial.println("Left off"); audioamp.enableChannel(true, false); delay(1000); Serial.println("Left On, Right off"); audioamp.enableChannel(false, true); delay(1000); Serial.println("Left On, Right On"); audioamp.enableChannel(true, true); delay(1000); Serial.println("Setting AGC Compression"); audioamp.setAGCCompression(TPA2016_AGC_2); Serial.println("Setting Limit Level"); audioamp.setLimitLevelOn(); audioamp.setLimitLevel(25); Serial.println("Setting AGC Attack"); audioamp.setAttackControl(5); Serial.println("Setting AGC Hold"); audioamp.setHoldControl(0); Serial.println("Setting AGC Release"); audioamp.setReleaseControl(11); } void loop() { } |
In the serial monitor, you should get this result.
|
1 2 3 4 5 6 7 8 9 10 11 12 13 14 15 16 17 18 19 20 21 22 23 24 25 26 27 28 29 30 31 32 33 34 35 36 37 38 39 40 41 42 43 44 45 46 47 48 49 50 51 52 53 54 55 56 57 58 59 60 61 62 63 64 65 66 67 68 |
TPA2016 Audio Test Gain = -28 Gain = -27 Gain = -26 Gain = -25 Gain = -24 Gain = -23 Gain = -22 Gain = -21 Gain = -20 Gain = -19 Gain = -18 Gain = -17 Gain = -16 Gain = -15 Gain = -14 Gain = -13 Gain = -12 Gain = -11 Gain = -10 Gain = -9 Gain = -8 Gain = -7 Gain = -6 Gain = -5 Gain = -4 Gain = -3 Gain = -2 Gain = -1 Gain = 0 Gain = 1 Gain = 2 Gain = 3 Gain = 4 Gain = 5 Gain = 6 Gain = 7 Gain = 8 Gain = 9 Gain = 10 Gain = 11 Gain = 12 Gain = 13 Gain = 14 Gain = 15 Gain = 16 Gain = 17 Gain = 18 Gain = 19 Gain = 20 Gain = 21 Gain = 22 Gain = 23 Gain = 24 Gain = 25 Gain = 26 Gain = 27 Gain = 28 Gain = 29 Gain = 30 Left off Left On, Right off Left On, Right On Setting AGC Compression Setting Limit Level Setting AGC Attack Setting AGC Hold Setting AGC Release |
Result
The sound from bone conduction speaker worked well! While the gain increases from -28dB to +30dB, the sound correspondingly becomes louder and when the speaker does not touch anywhere, you cannot hear any sound. Which means I2C also worked well between TPA2016 and Arduino. Pretty cool!
Lastly, check and watch the result video below.

