When I have been looking around a website called Adafruit, I could find an interesting board which made me excited and buy it immediately. Until TPA2016 ships to my home, I was googling how to use it. However, I could not find the simple tutorial which is used with Arduino, so I am trying to show you my experiment about TPA2016 with Arduino.
○Requirements
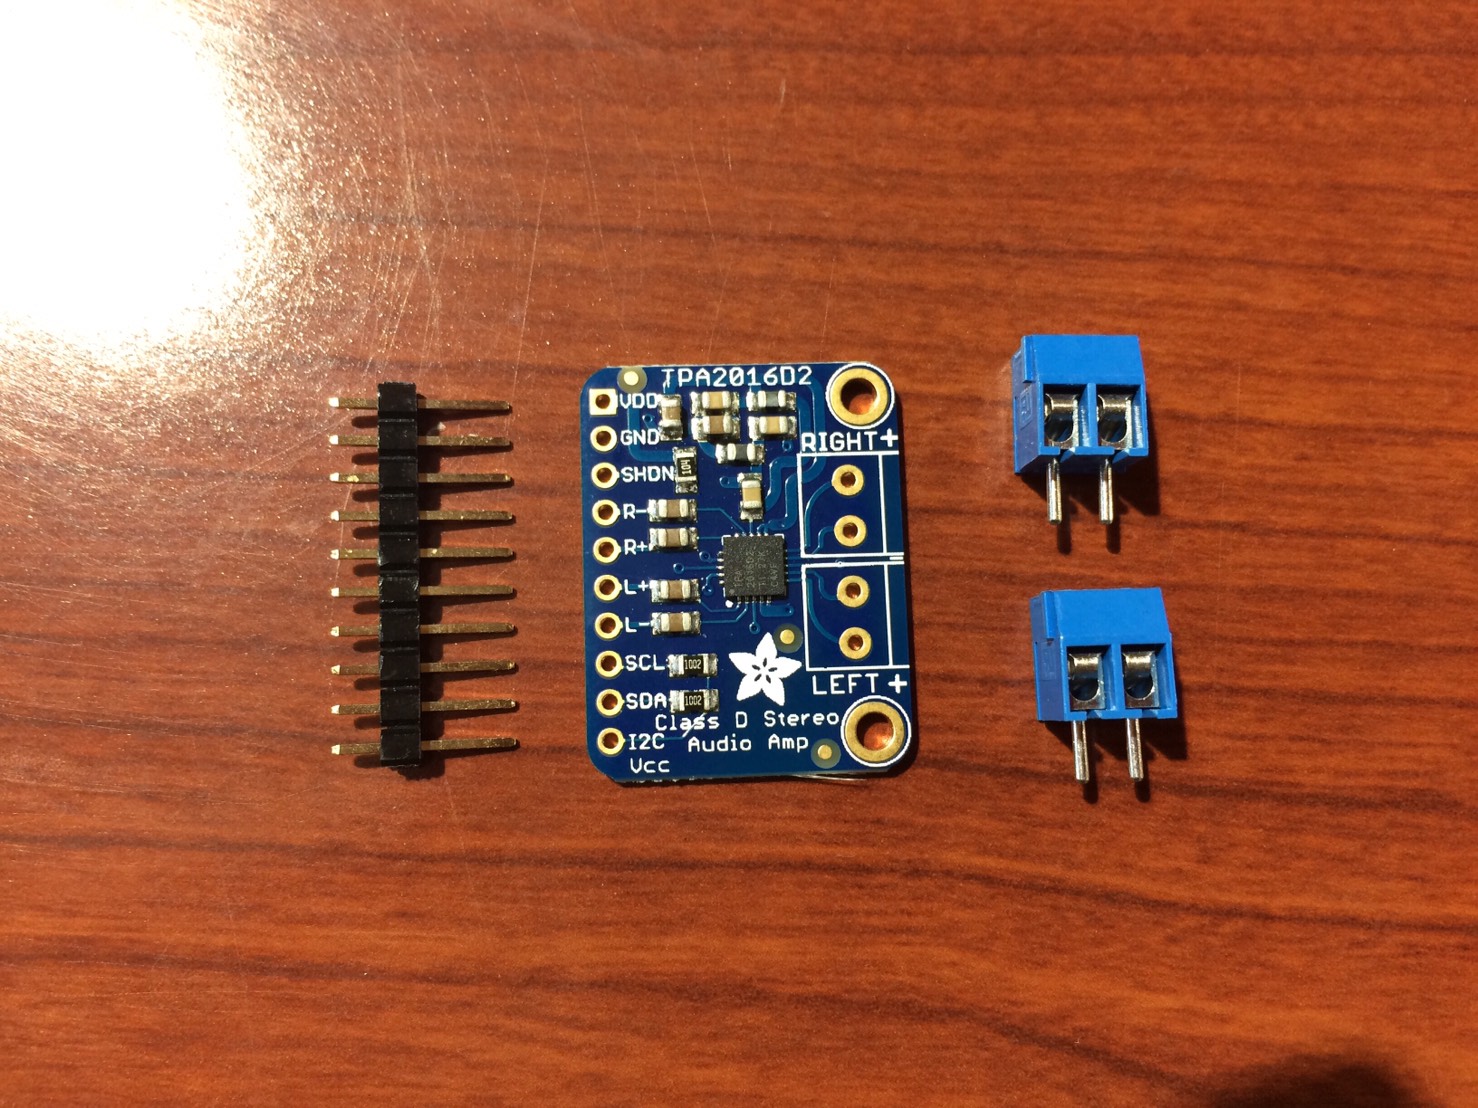
・TPA2016 (Stereo 2.8W Class D Audio Amplifier)
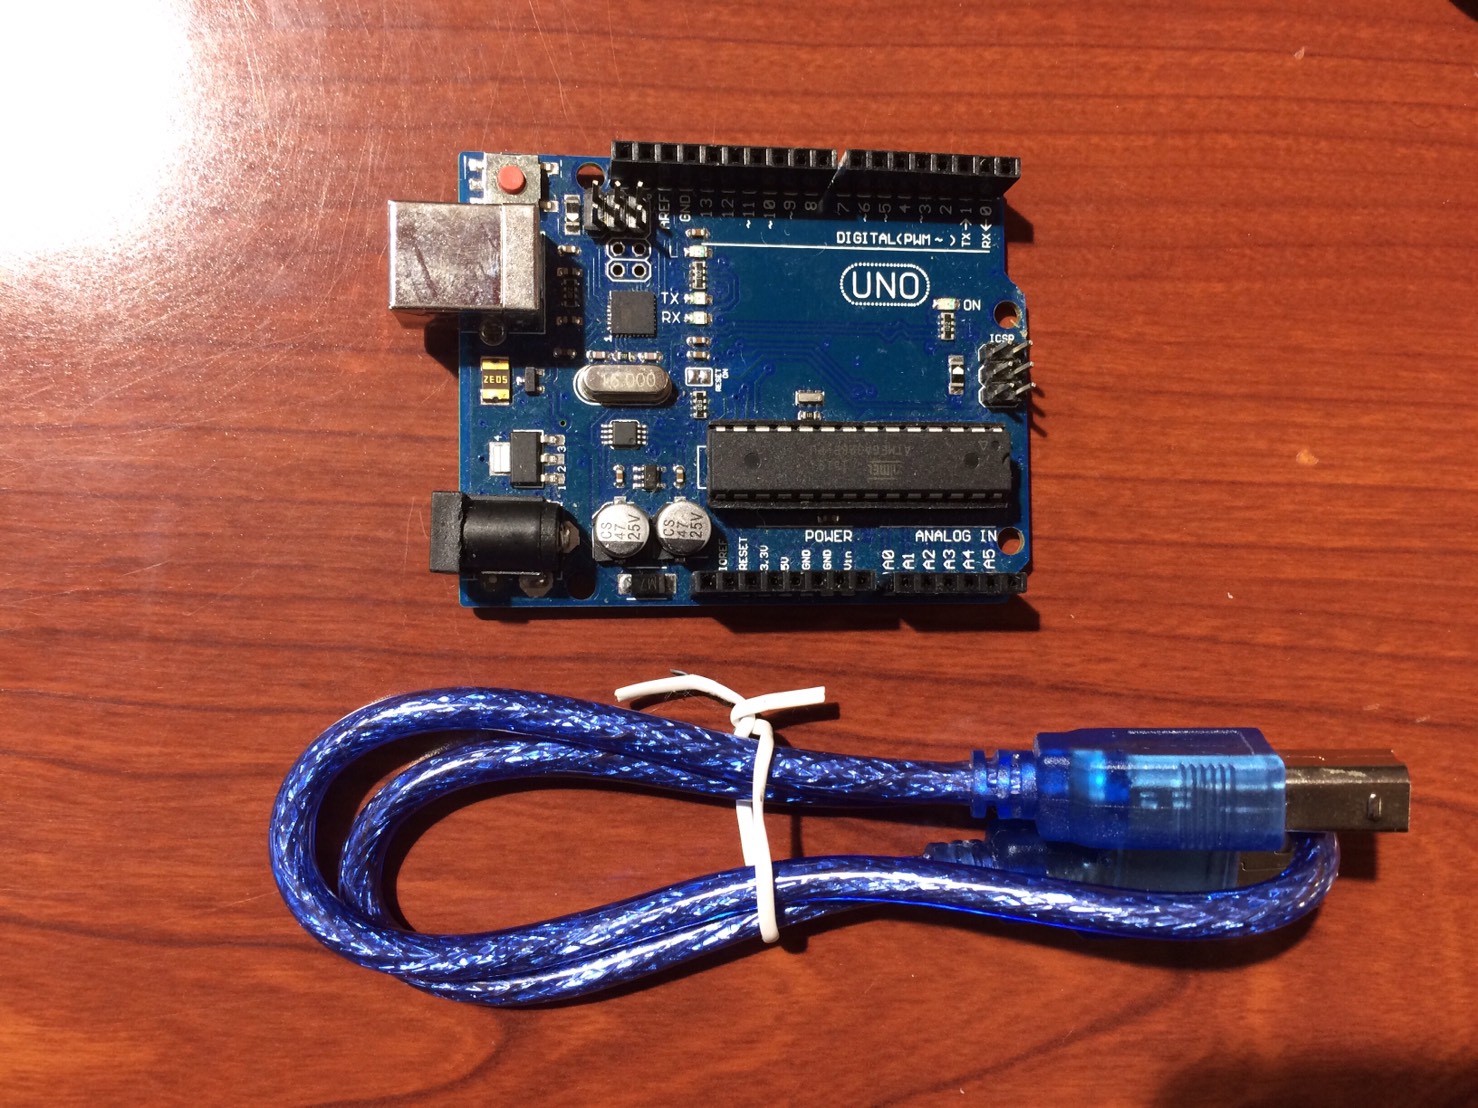
・Arduino Uno
・3.5mm Stereo Headphone Jack

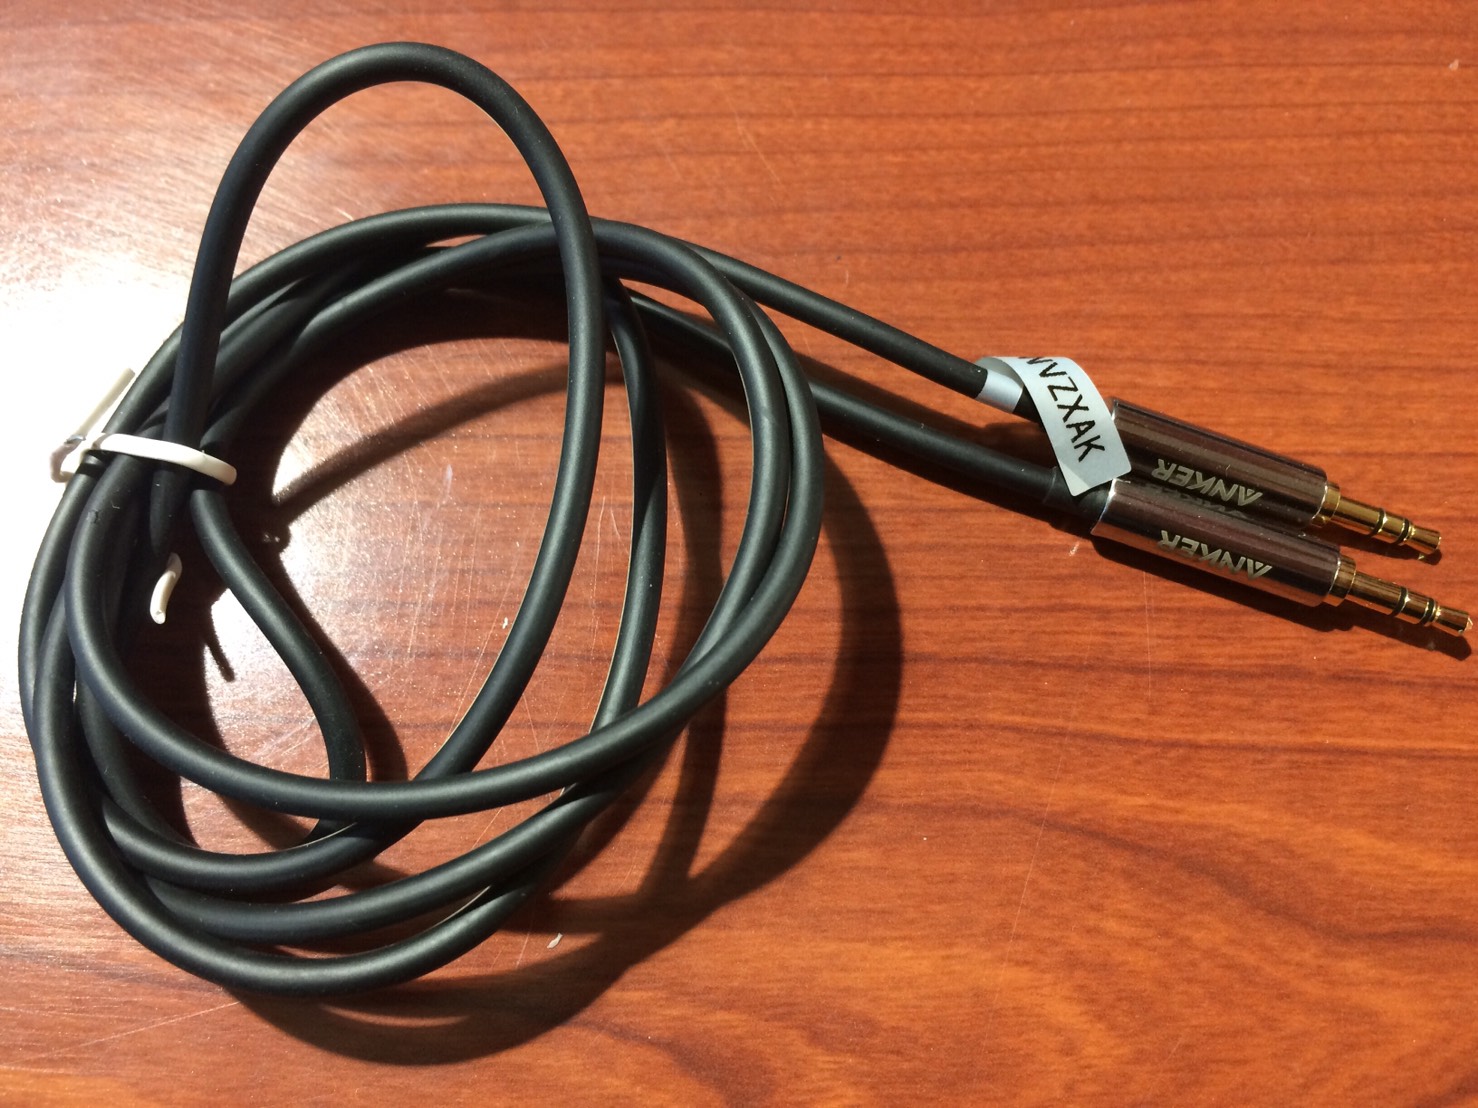
・3.5mm Audio Cable
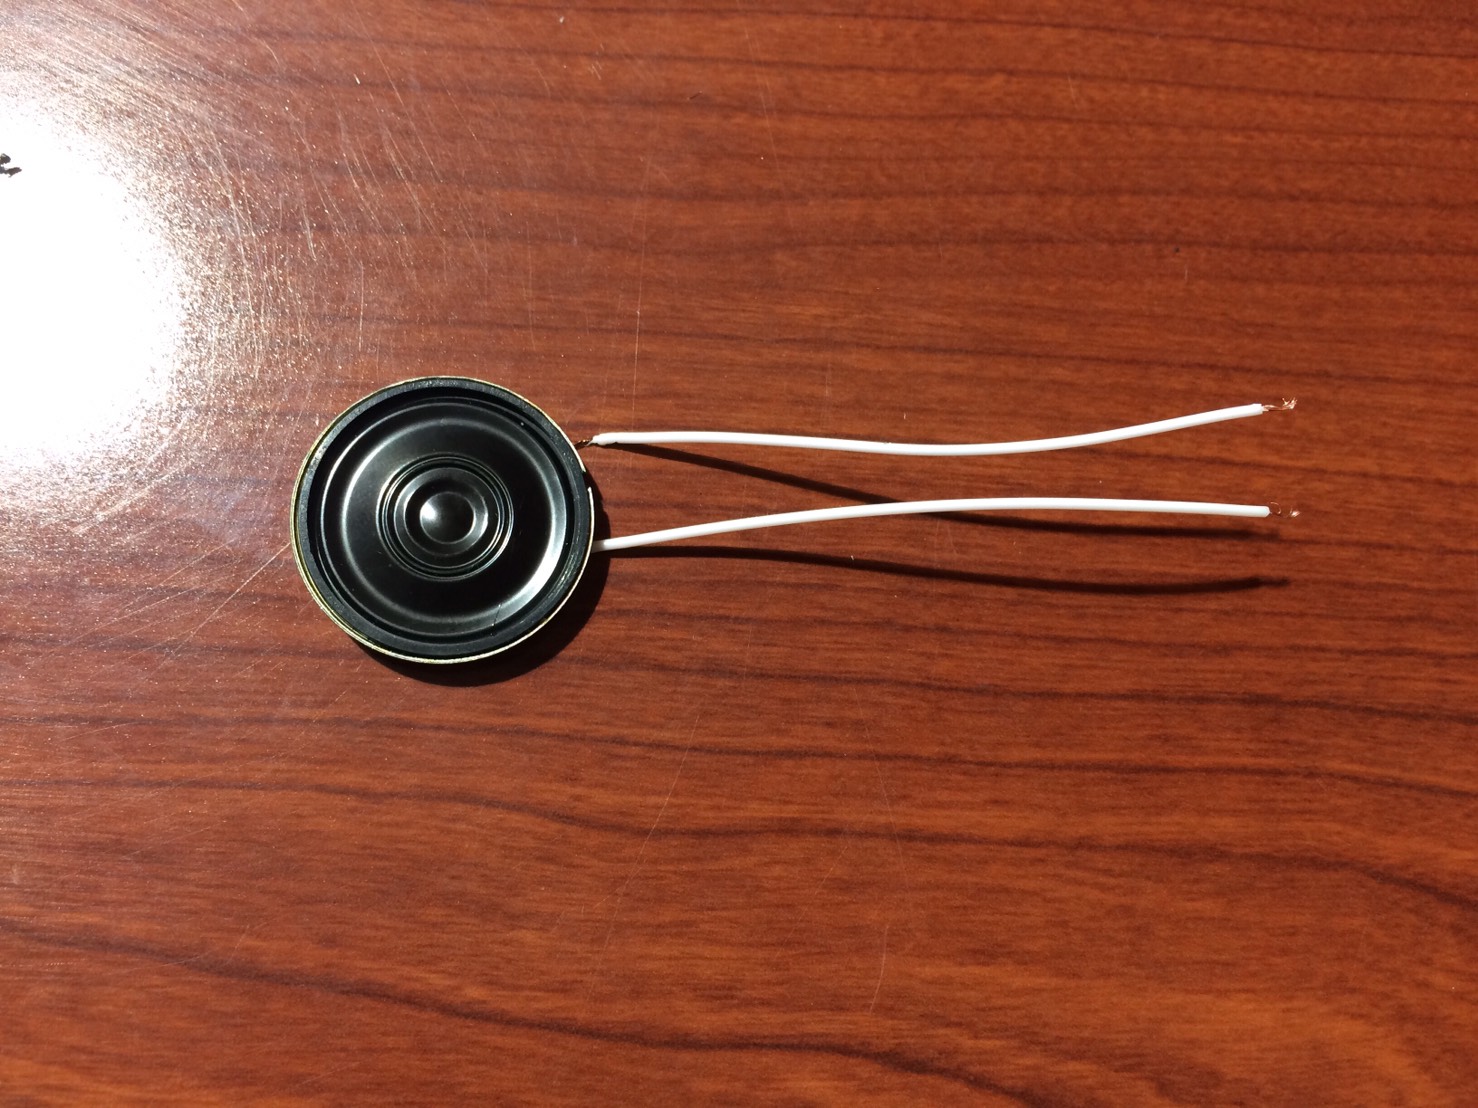
・A Speaker ( 8rm, 0.5W )
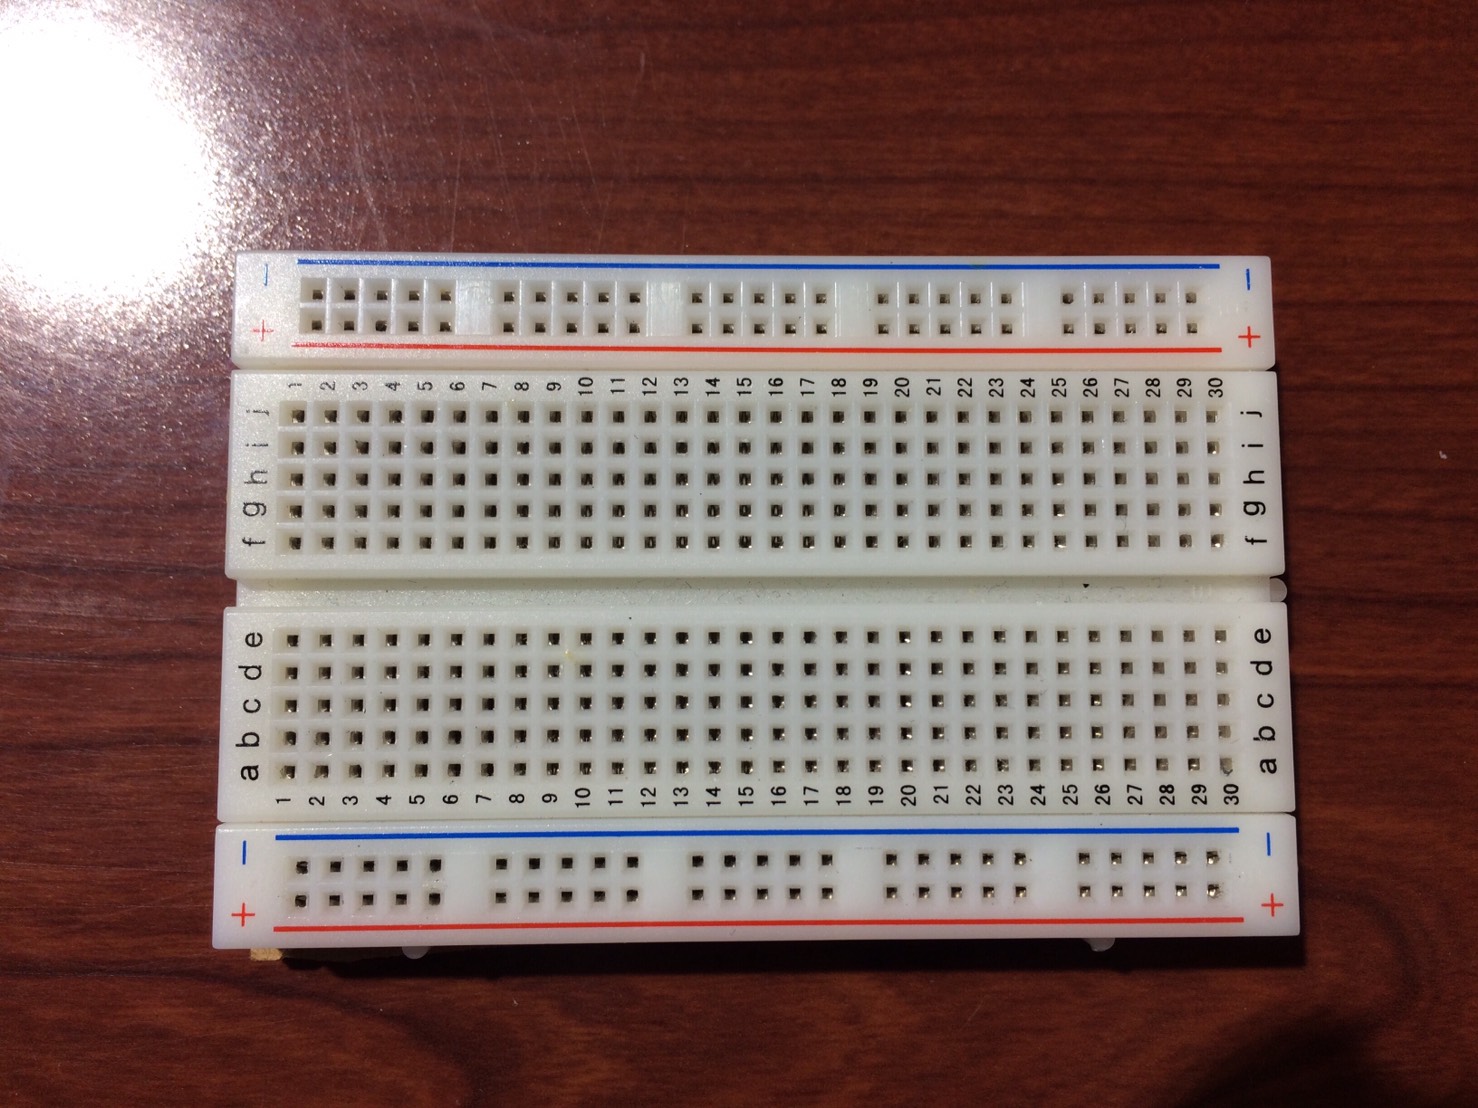
・A Breadboard
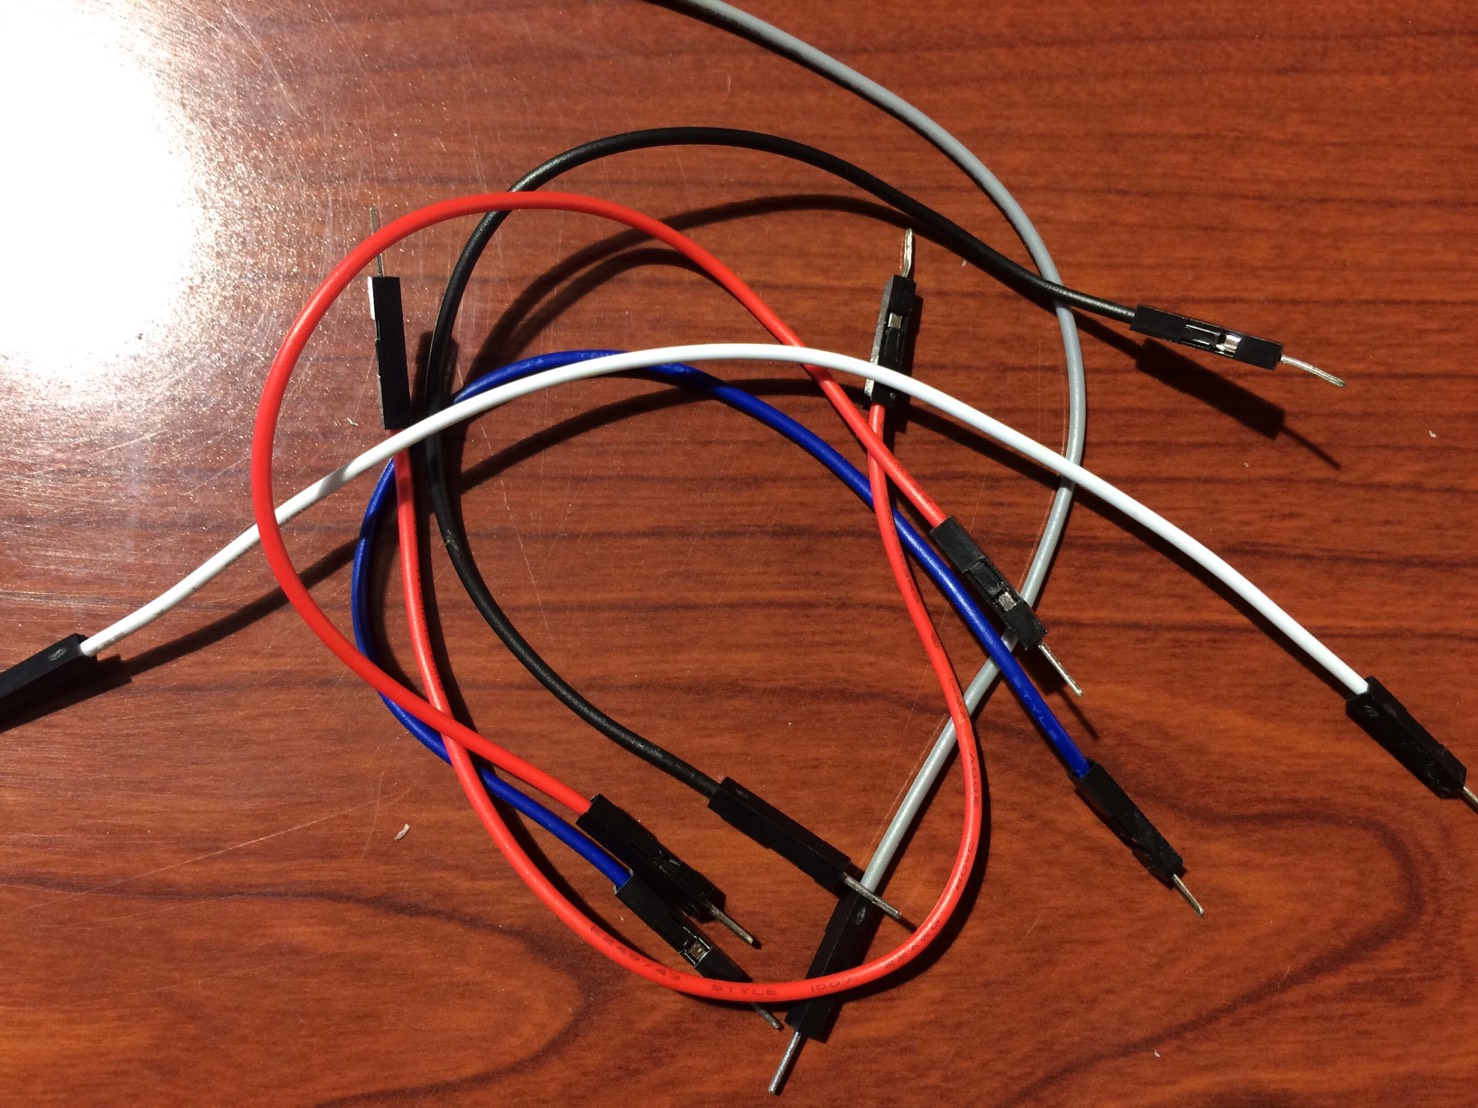
・Some Jumper Wires
○Assembly
 There are 10 pins on the TPA2016, so combine with the male headers which come with the kit from Adafruit to the 10 pins. Besides that, there are two terminal blocks in the kit, so do the same as the males headers. After all, solder them to completely connect with the TPA2016.
(The terminal blocks might not be required because it depends on what types of speaker you have. In my experiment, I use the speaker above, so there is no way itself can connect to the terminal block, so I am NOT going to use that.)
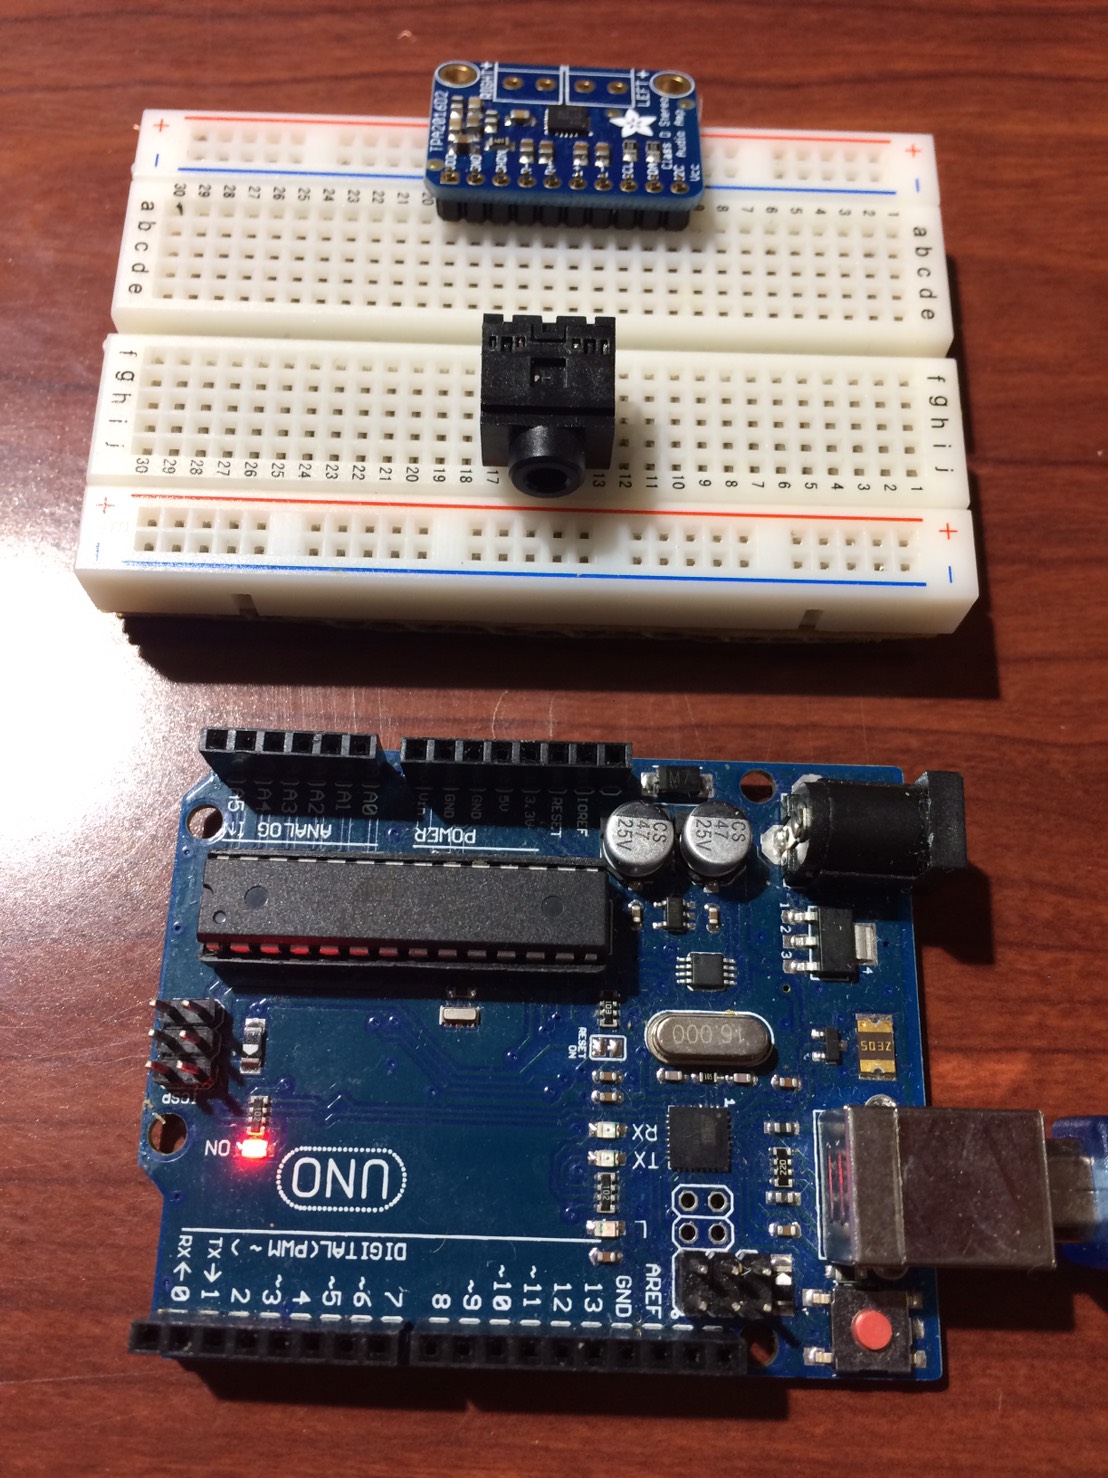
The setup looks like this. Put the TPA2016 and 3.5mm Headphone Jack on a breadboard.
○Circuit Diagram

I wrote the circuit diagram that is easier to see how it looks like. In this circuit diagram, the Arduino could be working as a power supply (5V).
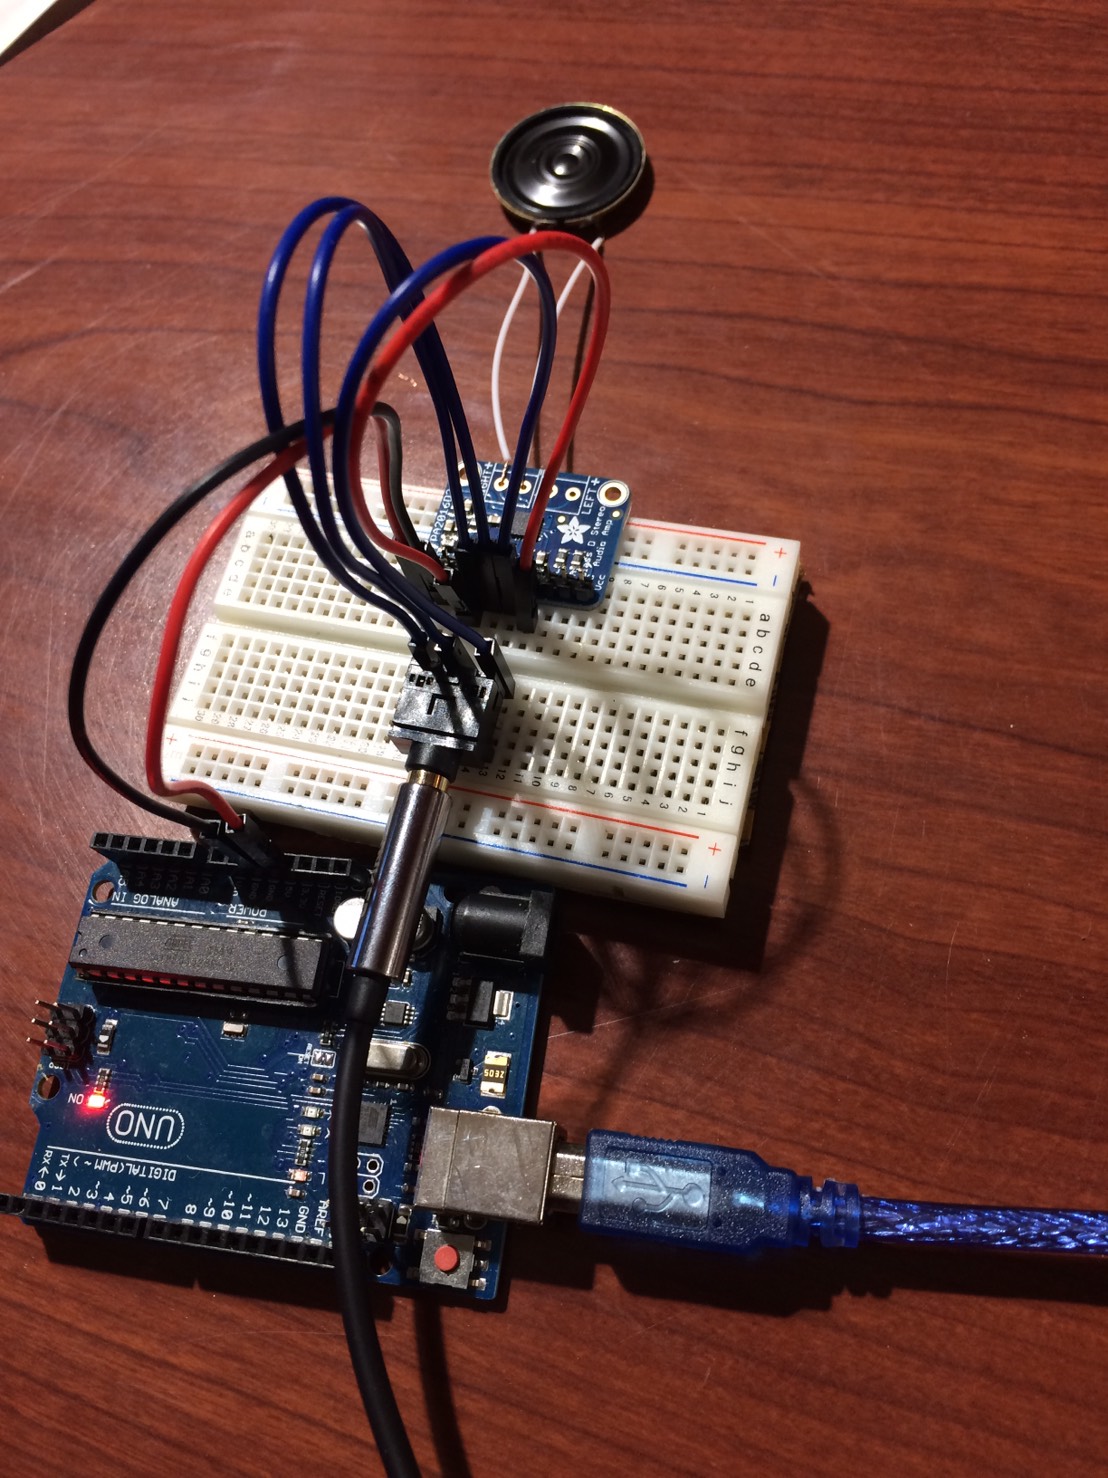
If you can connect everything correctly, you get a similar one like the image above. Well, the phone that is being connected with the 3.5mm headphone jack was supposed to be on the image… But I took the picture by using the phone, so it is not on there.
I could make a sound through my phone, but the sound was very small and the sound quality was horrible. Do you have any advice to make this experiment better? If so, let’s discuss about this topic in the comment area.