Huzzah32 ESP32 Micropython Setup
This tutorial guides how to get started with Huzzah32 ESP32 Micropython Setup. Before getting started with the tutorial, the environment being used is as follows.
Environment:
- macOS Monterey Version 12.4
- Visual Studio Code Version 1.69.1
- Python 3.9.5
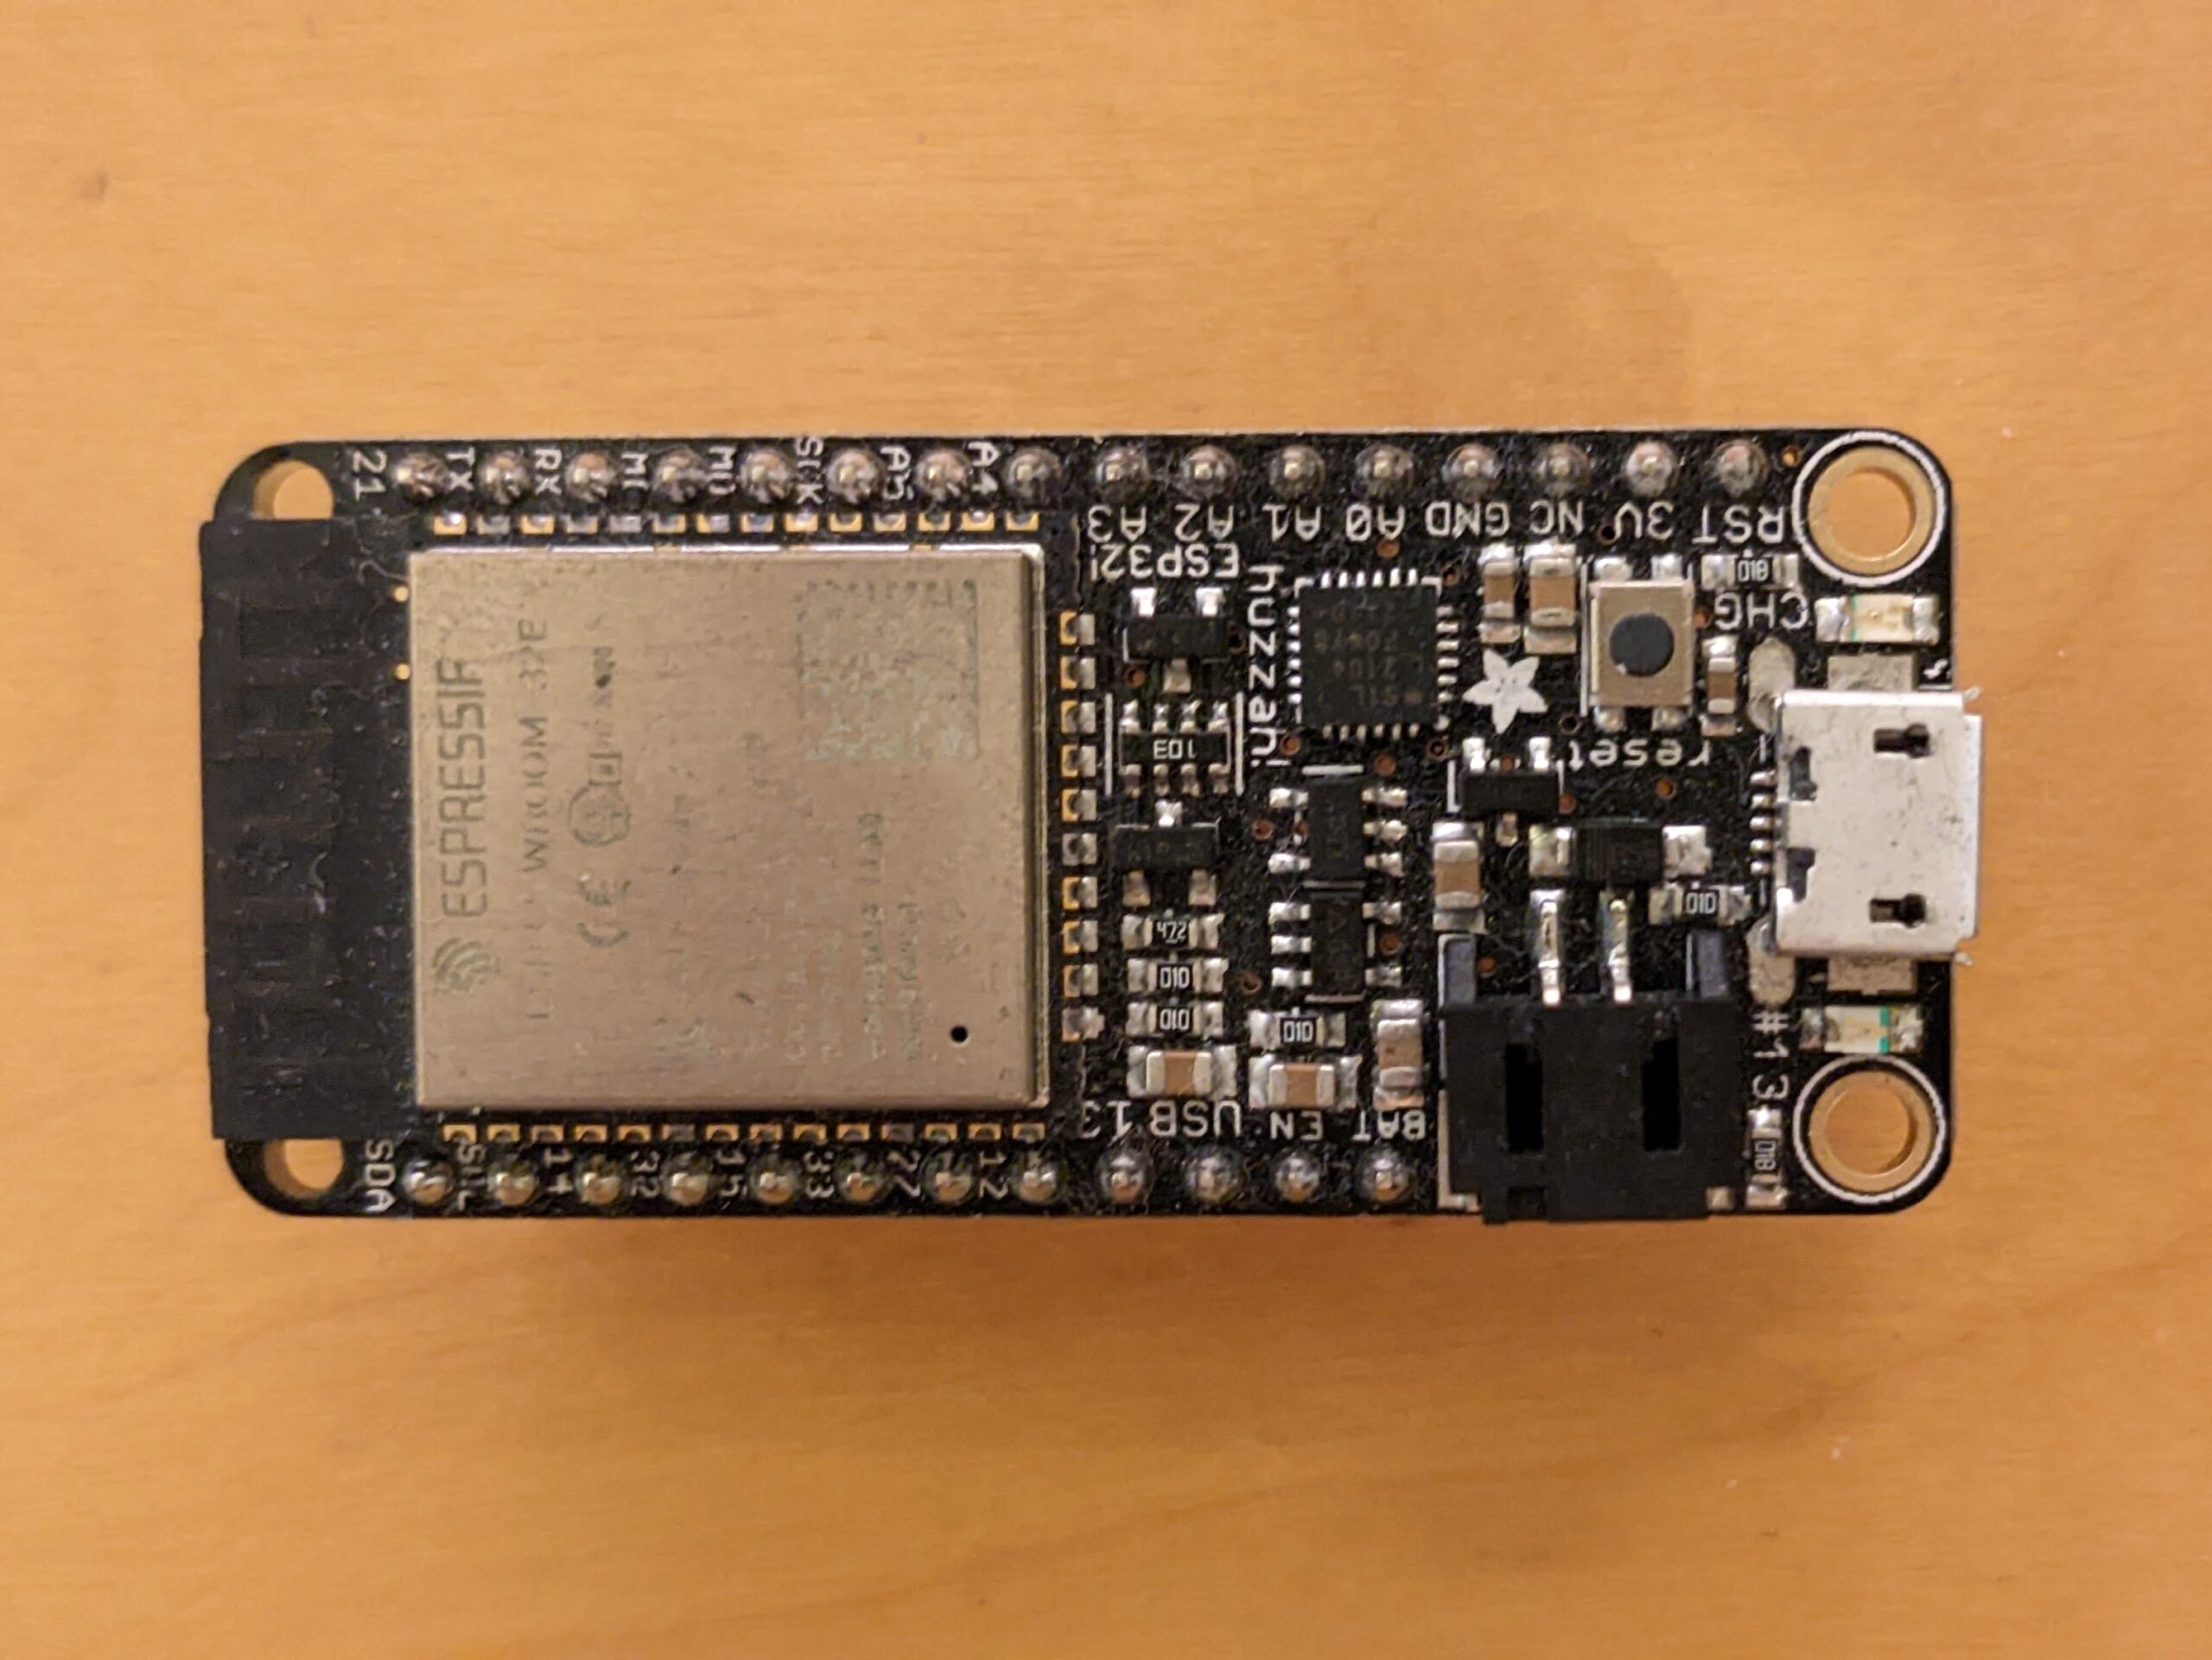
- Huzzah32 ESP32 Feather Board
- ESP32 Firmware
Preliminary Preparations:
1. Create a virtual environment:
Creating a virtual environment would be a great choice to avoid some conflicts among Python packages.
|
1 2 |
python3 -m venv esp32-py cd esp32-py && source bin/activate |
Once the venv directory was generated, the default directory tree would be as follows.
|
1 2 3 4 |
esp32-py |- bin |- include |- lib |
Let’s create a subdirectory to store codes.
|
1 |
mkdir src |
After that, the new directory tree will be as follows.
|
1 2 3 4 5 |
esp32-py |- bin |- include |- lib |- src |
2. Install the required Python package:
These two packages are useful for Huzzah32 ESP32 Micropython setup. Ampy is a micropython tool that executes codes via serial port. Esptool is a Python tool to communicate with the boot loader for ESP32. By installing these two packages, ampy makes the execution easier and esptool makes flashing easier.
|
1 2 |
pip3 install adafruit-ampy pip3 install esptool |
After pip-installed the packages, please double-check if the packages were installed properly by typing the following command.
|
1 |
pip3 list |
If these packages below are shown on Terminal, the ampy package and esptool have been installed successfully.

3. Download a Firmware
From this link, https://micropython.org/download/esp32/ download one of the firmware. In this tutorial, the latest firmware is being used.
After being downloaded, let’s create a subdirectory to store the firmware bin file.
|
1 |
mkdir bin |
Then, the directory tree looks like this:
|
1 2 3 4 5 6 7 |
esp32-py |- bin |- include |- lib |- src |- bin |- esp32-20220618-v1.19.1.bin |
4. Erase and write the firmware
In order to erase and write the firmware, you can type each command one by one on Terminal. However, I would recommend creating a shell script because simply executing that shell script when flashing the ESP32 again is complete.
|
1 2 |
mkdir tools touch flash.sh |
Then, the directory tree looks like this:
|
1 2 3 4 5 6 7 8 9 |
esp32-py |- bin |- include |- lib |- src |- tools |- flash.sh |- bin |- esp32-20220618-v1.19.1.bin |
In the shell script, please add these two lines.
|
1 2 |
esptool.py --chip esp32 --port /dev/tty.usbserial-XXXXXXXX erase_flash esptool.py --chip esp32 --port /dev/tty.usbserial-XXXXXXXX --baud 460800 write_flash -z 0x1000 ../bin/esp32-20220618-v1.19.1.bin |
Of course, XXXXXXXX should be replaced by the com port of your ESP32. In order to check the com port on macOS, you can use the following command.
|
1 |
ls /dev/tty.* |
Eventually, my shell script looks like this.
|
1 2 3 4 5 |
echo '=== Erase Flash Memory on ESP32 ===' esptool.py --chip esp32 --port /dev/tty.usbserial-XXXXXXXX erase_flash read -p 'Press Enter to continue...' echo '=== Update the ESP32 Firmware ===' esptool.py --chip esp32 --port /dev/tty.usbserial-XXXXXXXX --baud 460800 write_flash -z 0x1000 ../bin/esp32-20220618-v1.19.1.bin |
To execute the shell script, simple type:
|
1 |
sh flash.sh |
If the execution is successful, it will look like this
|
1 2 3 4 5 6 7 8 9 10 11 12 13 14 15 16 17 18 19 20 21 22 23 24 25 26 27 28 29 30 31 32 33 34 35 36 |
=== Erase Flash Memory on ESP32 === esptool.py v4.2.1 Serial port /dev/tty.usbserial-XXXXXXXX Connecting....... Chip is ESP32-D0WD-V3 (revision 3) Features: WiFi, BT, Dual Core, 240MHz, VRef calibration in efuse, Coding Scheme None Crystal is 40MHz MAC: XX:XX:XX:XX:XX:XX Uploading stub... Running stub... Stub running... Erasing flash (this may take a while)... Chip erase completed successfully in 16.3s Hard resetting via RTS pin... Press Enter to continue... === Update the ESP32 Firmware === esptool.py v4.2.1 Serial port /dev/tty.usbserial-XXXXXXXX Connecting..... Chip is ESP32-D0WD-V3 (revision 3) Features: WiFi, BT, Dual Core, 240MHz, VRef calibration in efuse, Coding Scheme None Crystal is 40MHz MAC: XX:XX:XX:XX:XX:XX Uploading stub... Running stub... Stub running... Changing baud rate to 460800 Changed. Configuring flash size... Flash will be erased from 0x00001000 to 0x0017efff... Compressed 1560976 bytes to 1029132... Wrote 1560976 bytes (1029132 compressed) at 0x00001000 in 26.3 seconds (effective 474.8 kbit/s)... Hash of data verified. Leaving... Hard resetting via RTS pin... |
That is all for the preliminary preparations for Huzzah32 ESP32 Micropython Setup. For the next tutorial, I will actually write and execute the code.